Coloring Techniques for Beginners: Easy Tips to Start and Develop Creativity
Whether you’ve just picked up your first set of colored pencils or you’re a teacher looking for fresh ways to engage your students, learning coloring techniques for beginners is one of the most rewarding creative journeys you can take. Coloring isn’t just a childhood pastime — it’s a powerful tool for adults to improve creative abilities, reduce stress, and express themselves in meaningful ways.
This guide walks you through everything you need to know about coloring techniques for beginners: from the very first strokes on paper to understanding color theory, blending like a professional, and building a consistent creative practice. By the end, you’ll have the confidence, tools, and techniques to transform a blank page into something genuinely beautiful.
Just getting started? Bookmark our Free Creative Resources Hub — it’s the go-to collection of beginner-friendly tools, tutorials, and color references to support you at every step.
Why Coloring Techniques Matter More Than You Think
Many people assume that coloring is simple — you pick a color and fill in the space. But anyone who has tried to improve their coloring quickly realizes there’s a world of nuance beneath the surface. Understanding proper coloring techniques for beginners can mean the difference between flat, dull results and vibrant, dimensional artwork that you’re proud to display or share.
For adults, coloring has been shown to activate both hemispheres of the brain simultaneously — the logical side that handles structure and the creative side that manages color and expression. This dual engagement is one of the reasons it’s so effective at helping people develop creativity while also calming anxiety.
For small business owners who sell coloring-related products, understanding these techniques helps you create better product descriptions, more useful tutorials, and deeper connections with your audience.
For teachers, having a solid grasp of foundational techniques means you can guide students more effectively and design lesson plans that genuinely build skills.
The good news? You don’t need to be an artist. You just need the right guidance — and that’s exactly what this article provides.
Getting Started: Your First Steps With Coloring to Develop Creativity
Choose the Right Paper and Medium
Before you touch color to the page, the materials you use will significantly affect your results. Coloring on standard printer paper with alcohol markers, for instance, will cause bleed-through and frustration. Matching your tools to your surface is step one.
Here’s a quick breakdown:
- Colored pencils work well on textured paper (look for 160gsm or higher) and allow for incredible detail and layering
- Markers perform best on smooth, heavier cardstock that resists bleeding
- Watercolor pencils need paper with some tooth and weight — ideally 200gsm or watercolor-specific sheets
- Gel pens shine on smooth black or dark paper for a dramatic pop of color
To go deeper on choosing your supplies, visit our comprehensive guide on the Best Coloring Tools for Adults – Guide to Pencils, Markers & Supplies — it covers everything from budget-friendly starter kits to professional-grade materials worth investing in.
To Develop Creativity, Understand Basic Color Relationships First
One of the most common beginner mistakes is picking colors by gut feeling alone — and ending up with combinations that clash or feel muddy. A foundational understanding of how colors relate to each other will immediately improve your creative abilities and help every piece feel more intentional.
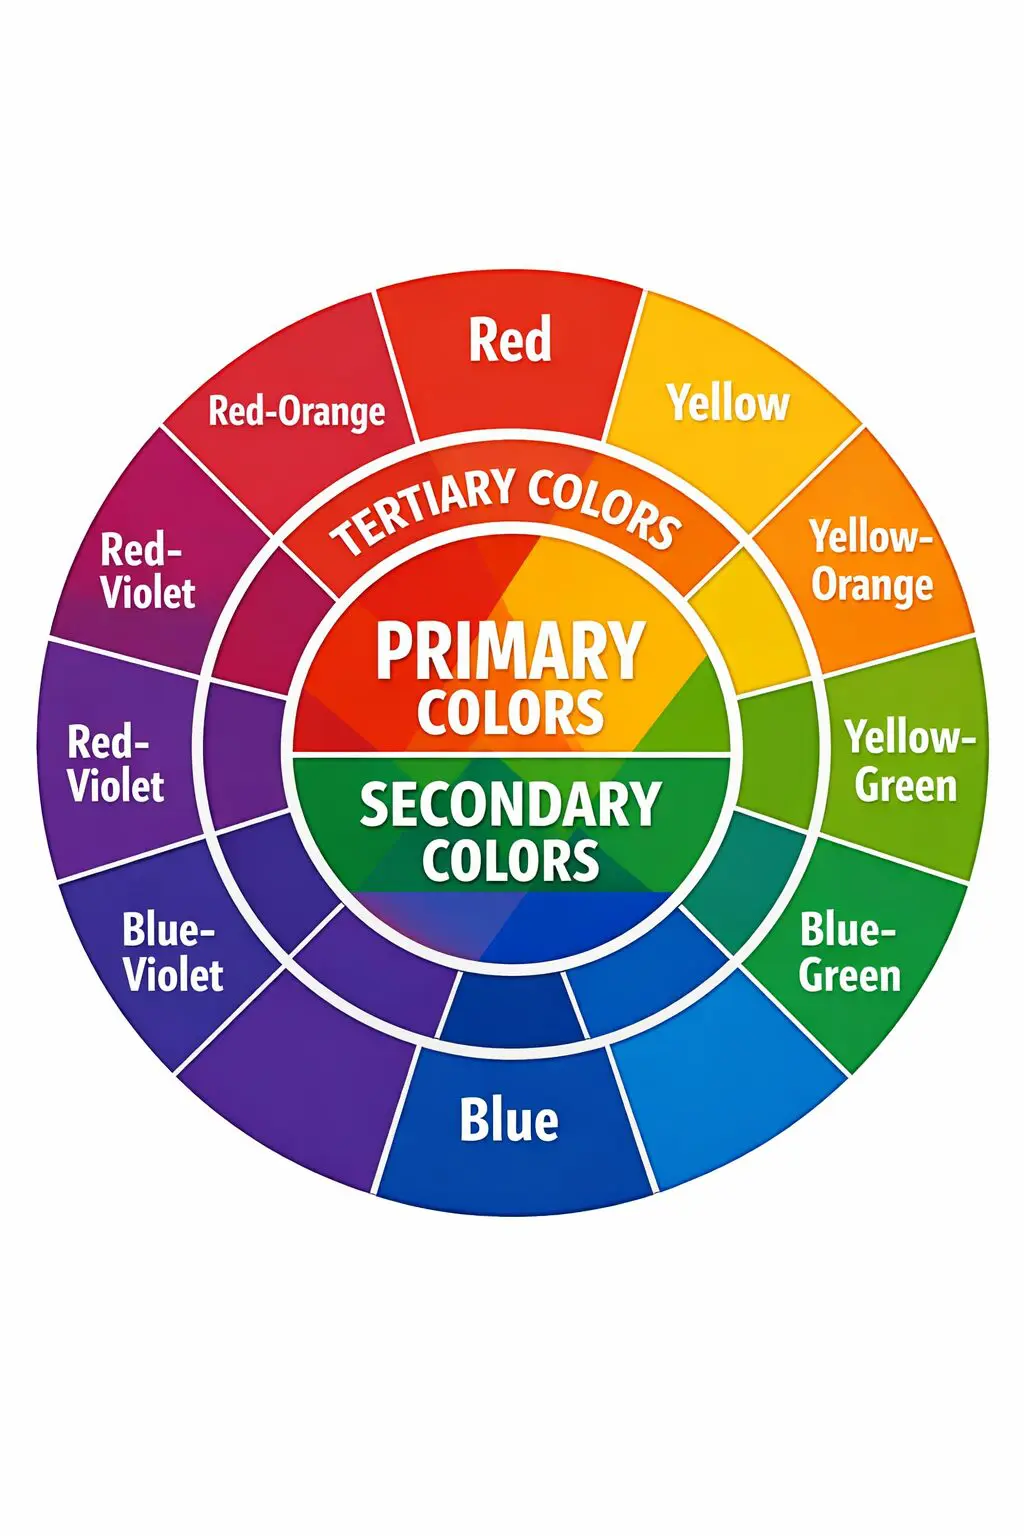
The color wheel is your best friend here. At its most basic level:
- Primary colors (red, yellow, and blue) are the basis of everything
- Secondary colors (orange, green, purple) are made by mixing primaries
- Complementary colors sit opposite each other on the wheel and create contrast
- Analogous colors sit next to each other and create harmony
Understanding warm tones (reds, oranges, yellows) versus cool tones (blues, greens, purples) helps you create mood and depth. Warm colors tend to advance visually — they feel closer. Cool colors recede — they feel further away. Using this in your coloring creates natural-looking depth.
For a structured learning experience, explore our Understanding Color Theory Basics resource, which breaks down these concepts in a beginner-friendly format. If you’d like to practice with real swatches and experiment freely, our Free Color Palette Generator for Coloring Pages is a fantastic interactive tool.
You can also dive deeper with our Free Color Theory Mastery course, which walks you through everything from the color wheel to creating harmonious palettes in your artwork.
Core Coloring Techniques for Beginners
Now let’s get into the actual techniques. These are the foundational methods every beginner should practice before moving on to more advanced styles.
1. Flat Coloring — The Essential Starting Point
Flat coloring means applying a single, consistent layer of color within a defined area with no variation in tone or pressure. It sounds simple, but doing it well requires:
- Consistent pressure — too hard and you’ll damage the paper; too light and coverage will be uneven
- Circular or back-and-forth strokes — choose one and stay consistent
- Working in sections — fill small areas completely before moving on
This is the base layer for almost every other technique. Master flat coloring first, and every advanced method you learn will land more effectively on top of it.
2. Pressure Variation — Creating Depth Without Blending
Before you even begin to blend, learn to use pressure variation to create light and shadow with a single pencil. Press harder for darker values; ease off for lighter areas.
Practice this:
- Choose one pencil in a mid-tone color
- Start at one edge of a shape, pressing lightly
- Gradually increase pressure toward the center or shadow side
- Return to light pressure toward the lit side
This technique alone can develop creativity by forcing you to observe where light comes from and how it interacts with shapes. It’s the foundation of realistic shading and a technique you’ll use for the rest of your coloring life.
3. Hatching and Cross-Hatching
Borrowed from drawing, hatching involves creating parallel lines to suggest tone and texture. Cross-hatching layers those lines at angles to each other.
This works beautifully with:
- Fine-tip colored pencils
- Ballpoint pens in color
- Technical pens
It’s especially popular for botanical illustration-style coloring and architectural patterns. The more closely spaced your lines, the darker the area appears. Use it to build tone gradually in detailed areas like leaves, fur, feathers, or fabric folds.
4. Burnishing — Achieving Smooth, Vibrant Results
Burnishing is a technique where you apply very heavy pressure with a light-colored pencil (often white or a cream tone) over previously layered colors. The goal is to blend the layers together and completely fill in the paper’s tooth (texture).
The result? A smooth, almost waxy, highly saturated finish that looks almost painted.
To burnish effectively:
- Build up 2–3 layers of color first
- Use a white or colorless blender pencil on top
- Apply firm, circular pressure
- Work in small sections
This is one of the most satisfying techniques you’ll learn — transforming a scratchy-looking layer into a richly polished result.
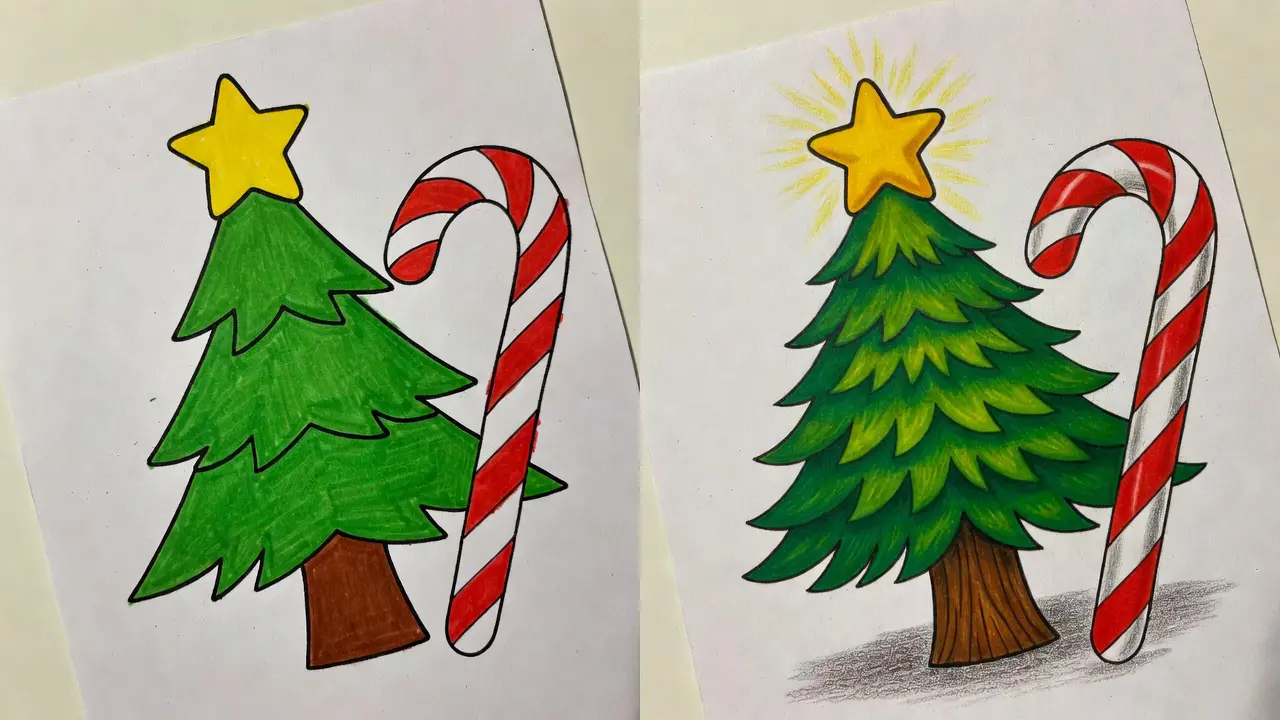
5. Develop Creativity with Layering — Build Color Depth Gradually
Layering is the process of applying multiple light layers of color on top of each other to build richness, dimension, and complexity. Unlike burnishing (which presses everything flat), layering preserves the visual texture of individual strokes while creating colors that appear to glow from within.
The key rule: light to dark. Always start with your lightest colors and build toward shadows. It’s much easier to deepen a color than to lighten it.
A simple layering sequence for a red apple:
- Base layer: light yellow over the entire apple
- Second layer: pale orange over the lower 2/3
- Third layer: red over the bottom half
- Shadow layer: deep red + burgundy in the darkest areas
- Highlight: leave paper bare or use a white pencil sparingly
To learn advanced layering methods, check out our full guide on Mastering Coloring Book Techniques: Blending, Shading & Layering — it covers everything from basic color building to advanced multi-medium combinations.

6. Blending — The Technique Everyone Wants to Master
Blending is where coloring begins to feel like painting. It’s the process of smoothly transitioning between two or more colors so that the boundary between them disappears.
Methods for blending with colored pencils:
- Solvent blending — use a colorless blending solution applied with a cotton swab or brush
- Pencil blending — layer colors directly on top of each other with light pressure
- Colorless blender pencil — a wax-based pencil with no pigment that smears existing color
- Finger blending — the warmth of your fingertip softens wax-based pencil colors (less precise but very accessible for beginners)
Blending with markers is different — alcohol-based markers blend while still wet by overlapping strokes or using a colorless blender marker.
For a full breakdown of professional blending methods, our tutorial, How to Blend Colors Like a Pro, takes you step by step through each approach, with visual examples for every skill level.
Intermediate Coloring Techniques Worth Exploring Early
Once you’ve practiced the fundamentals, these intermediate-level techniques will help you improve creative abilities faster than almost anything else.
Negative Space Coloring
Rather than coloring the subject, you color the background, leaving the main design in the white of the paper. This creates a striking, almost photographic effect and is especially beautiful with floral or botanical designs.
Galaxy and Gradient Effects
Gradient coloring — smoothly transitioning from one color to another across a large area — is one of the most visually stunning effects beginners can achieve relatively quickly. For galaxy designs, layer deep blues, purples, and blacks, then add bright spots of white, yellow, and pink for stars.
Wet-on-Dry Watercolor Techniques
If you’re using watercolor pencils or pans, working wet-on-dry (applying wet color to dry paper) gives you crisp lines and controlled blooms. It’s a beautiful way to add softness to detailed designs without losing precision.
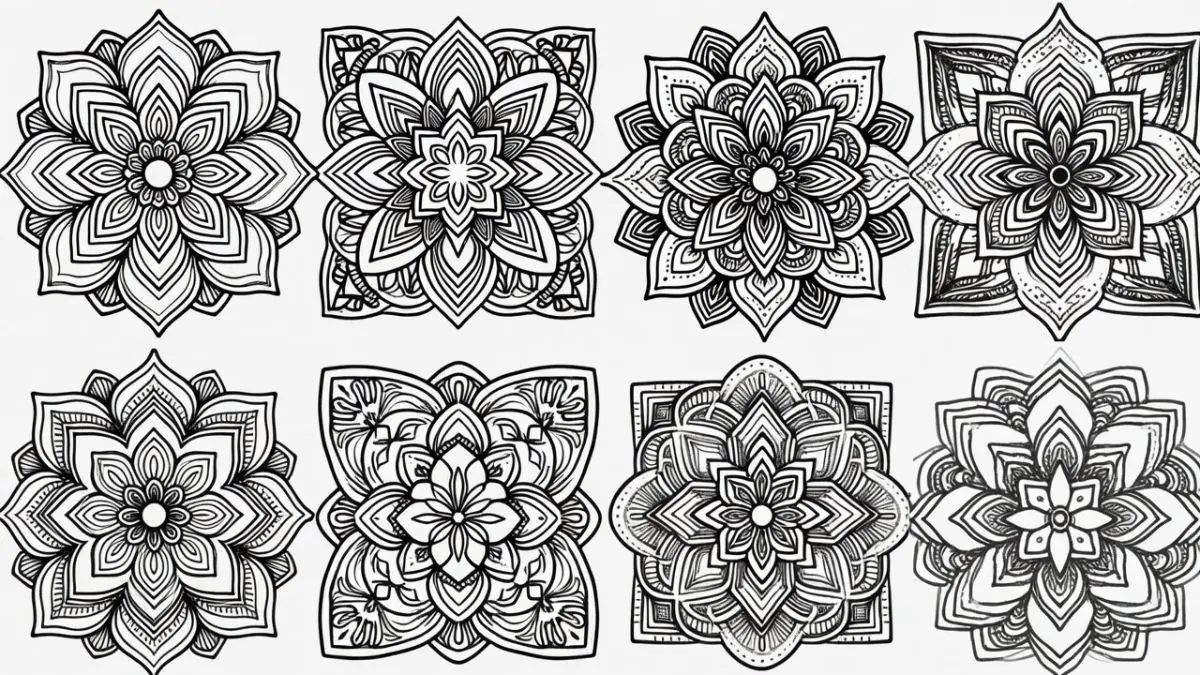
Develop Creativity by Coloring for Specific Themes: Mandala and Geometric Designs
Mandala coloring deserves its own section because it’s one of the most popular categories — and it has its own unique challenges and rewards.
The symmetrical, repetitive nature of mandalas makes them ideal for coloring techniques for beginners because you naturally practice consistency across sections. If one petal looks different from another, you can immediately identify what went wrong and adjust.
Key tips for mandala coloring:
- Choose a color scheme before you begin — don’t make it up as you go
- Work from the center outward — this prevents smudging
- Use the rule of three — repeat each color in at least three places for visual cohesion
- Contrast adjacent sections — use light and dark alternately so the pattern reads clearly
For a full, deep dive into this style, our Mandala Coloring Techniques for Adults guide is the most comprehensive resource available, covering everything from color placement strategies to creating a meditative flow while you work.
How to Develop Creativity Through Consistent Coloring Practice
Technical skill matters — but creativity is a muscle that needs exercise. Here are specific, research-backed methods to develop creativity through your coloring practice:
1. The 10-Minute Daily Color Experiment
Commit to 10 minutes of unstructured color play each day. No rules, no finished product expected. Try:
- Swatching new color combinations
- Testing blending on scrap paper
- Exploring one new technique you read about
This removes the pressure of “making something good” and trains your brain to experiment freely — which is the core of creative thinking.
2. Color Outside Your Comfort Zone
If you always reach for blues and greens, force yourself to create an entire piece in oranges and purples. Constraint breeds creativity. Working within an unfamiliar palette forces you to make unexpected decisions — and those surprises often produce your best work.
Recommended for This Topic
35 Bold and Easy Coloring Pages – Stress Relief Made Simple
35 Mindfulness Coloring Pages for Adults | Instant PDF Download

56 Mandala Coloring Pages – Unwind and Find Your Calm
Our Color Personality Quiz — Reveal Who You Really Are is a fun, insightful starting point for understanding your natural color tendencies — so you know exactly which habits to challenge.
3. Study Nature and Photography
The best colorists are also keen observers. Spend five minutes looking at a photograph — a fruit bowl, a sunset, a forest floor — and notice:
- Where the lightest lights are
- Where the darkest darks are
- What unexpected colors appear (shadows often contain purple or blue)
Then try to recreate that lighting logic in your next coloring session.
4. Use Structured Interactive Learning
Sometimes the fastest way to improve is to follow guided instruction rather than self-teaching. Our Powerful Interactive Coloring Tutorials for Adults offer step-by-step visual walkthroughs of real coloring projects, with pause points for practice, feedback prompts, and technique reviews.
Coloring as a Tool for Small Business Owners and Teachers
If you’re a small business owner in the creative or wellness space, coloring is more than a hobby — it’s a product category, a content strategy, and a community builder all at once.
For Small Business Owners
- Content marketing: Step-by-step coloring tutorials are among the highest-engagement content types on Pinterest and Instagram — particularly short video or Reel-format time-lapses
- Email engagement: Sending customers a “technique of the month” tip with a product recommendation builds trust and repeat purchases
- Product positioning: When you understand the techniques your customers are trying to master, you can position your coloring products around those specific skills — rather than just selling “a coloring page.”
Understanding coloring techniques for beginners also helps you write better product descriptions that educate and persuade simultaneously, which is one of the most effective forms of conversion copywriting.
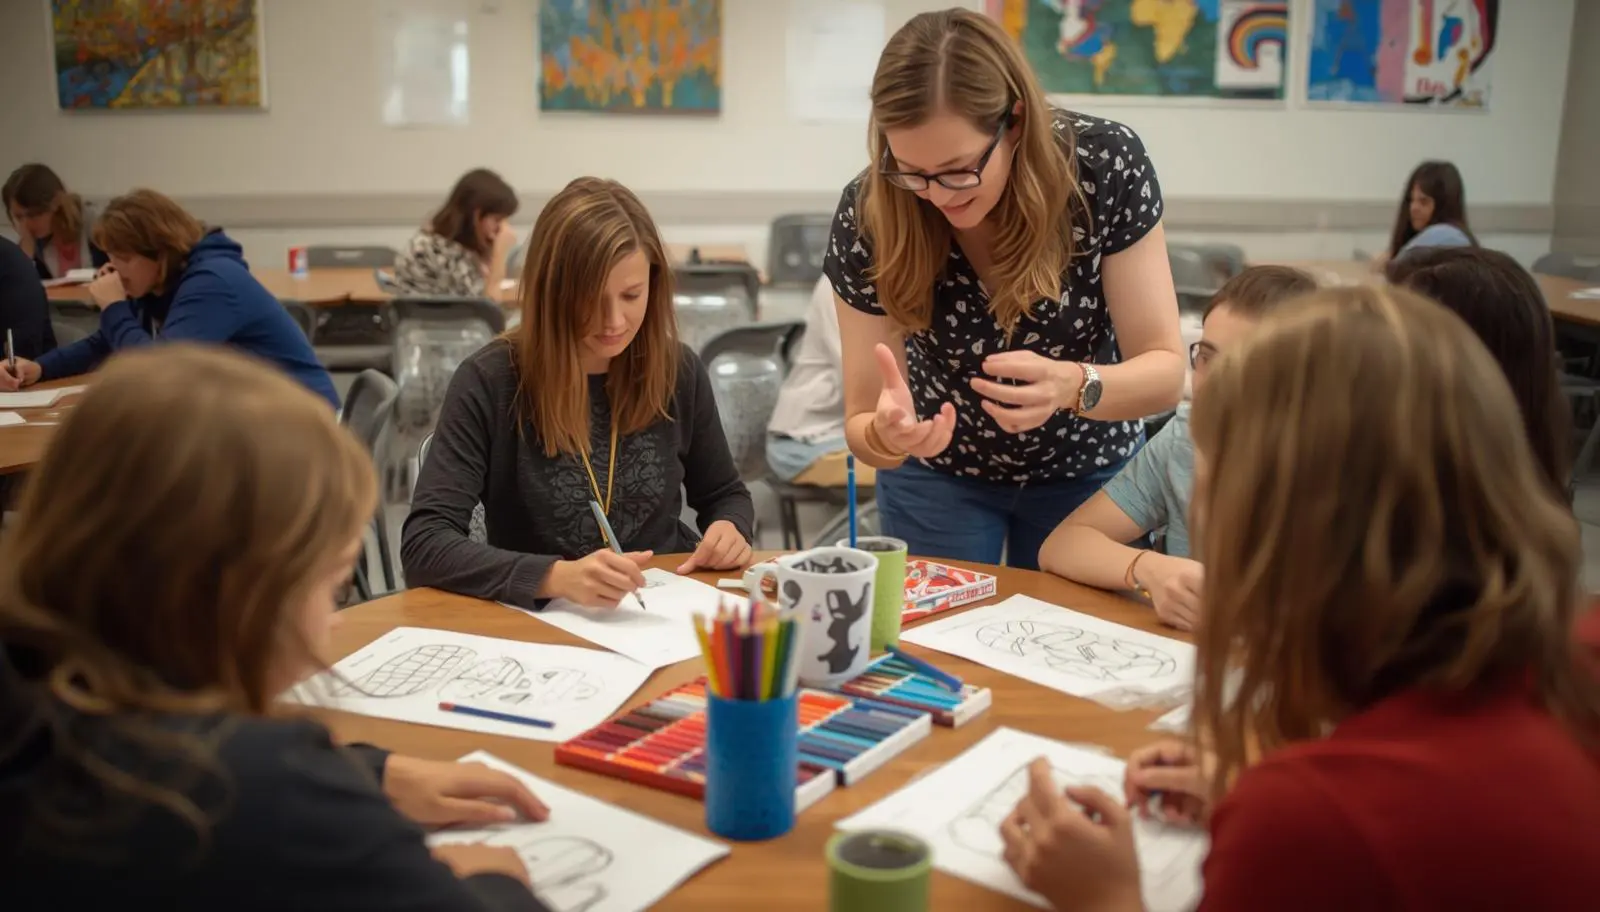
For Teachers
Coloring is a uniquely versatile classroom tool. It develops:
- Fine motor skills (especially for younger students)
- Focus and sustained attention
- Color theory literacy, when taught intentionally
- Cultural literacy when designs are tied to global art traditions
When teachers understand the techniques behind the activity, they can scaffold coloring projects as genuine art lessons rather than filler activities. Assigning specific techniques — such as layering a landscape or cross-hatching a texture study — transforms coloring into a rigorous creative practice that genuinely helps students improve their creative abilities.
Building Your Coloring Toolkit to Learn
Coloring Techniques for Beginners: What You Actually Need
Here’s a no-overwhelm starter toolkit for any beginner:
The Minimum Viable Kit:
- 1 set of 24 wax-based colored pencils (Prismacolor Scholar or Faber-Castell Grip are excellent entry points)
- A colorless blender pencil
- 1 set of dual-tip markers (light, medium, and dark values in 3–4 color families)
- Medium-weight smooth cardstock (160gsm+)
Adding as You Grow:
- Watercolor pencils for mixed-media work
- A fineliner pen set for detail work and outlining
- Reference sheets showing color mixing results for your specific brand
- A light box for tracing and transferring designs
For an exhaustive breakdown of every tool category with brand recommendations at every price point, visit our Best Coloring Tools for Adults – Guide to Pencils, Markers & Supplies guide.
Common Beginner Mistakes (And How to Fix Them)
Pressing Too Hard, Too Soon
This is the number one beginner mistake. Heavy pressure early in a piece fills the paper’s tooth and prevents further layering. Always start light — you can always add more, but you can rarely take it back.
Fix: Practice a “feather stroke” — imagine the pencil is barely touching the page. Build pressure only after 2–3 light layers are down.
Using Too Many Colors
More colors do not mean more beautiful. Beginners often use every color in the set, resulting in chaotic, muddy results.
Fix: Limit yourself to 3–5 colors per piece. Choose one dominant color, one or two supporting colors, and one accent. This constraint will dramatically improve your creative abilities by forcing thoughtful decision-making.
Ignoring Light Source
Random shading without a consistent light direction creates flat, unconvincing results.
Fix: Before you begin, decide where the light is coming from. Mark it lightly in pencil if needed. Every shadow should be on the opposite side of every surface from that light source.
Skipping the Planning Phase
Diving in without a color plan leads to regret halfway through when you realize the colors in adjacent sections are fighting each other.
Fix: Swatch your intended colors on scrap paper first. Hold the swatch next to the design. Sleep on it if needed. Planning takes five minutes and saves hours of frustration.
Coloring Techniques for Beginners: A Practice Plan for Your First 30 Days
Week 1 — Foundations
- Practice flat coloring with consistent pressure every day
- Swatch your pencil set: light to dark for each color family
- Complete one simple design using only 3 colors
Week 2 — Depth and Value
- Practice pressure variation exercises (gradients with one pencil)
- Introduce layering: complete one piece using the light-to-dark sequence
- Study one photograph for 5 minutes before each session
Week 3 — Blending and Texture
- Try pencil blending with adjacent colors
- Practice cross-hatching on a textured subject (bark, stone, fabric)
- Complete one mandala using a pre-planned color scheme
Week 4 — Putting It Together
- Complete one full, detailed piece applying every technique you’ve practiced
- Photograph your work and compare it to your Week 1 piece
- Identify the two techniques you want to develop most in Month 2
Final Thoughts about Coloring Techniques for Beginners: Creativity Is a Skill, Not a Gift
The biggest lie in the creative world is that some people are just “naturally” artistic. The truth is that creativity is developed through practice, observation, and the willingness to make imperfect things repeatedly until they become more perfect.
Mastering coloring techniques for beginners isn’t about reaching a destination — it’s about building a practice that consistently helps you develop creativity, find flow, and make something beautiful with your own hands.
Whether you’re coloring for relaxation, for your students, for your business, or simply because it brings you joy — the techniques in this guide will help you do it better, more confidently, and with far more satisfaction.
Start today. Start imperfectly. And keep going.
🎨 Not sure where to start?
Here are our most loved products.
Frequently Asked Questions: Coloring Techniques for Beginners
🎨 Not sure where to start? Here are our most loved products.
Q1: What are the best coloring techniques for beginners to learn first?
A: The best coloring techniques for beginners to start with are flat coloring, pressure variation, and basic layering. These three methods build on each other naturally — flat coloring gives you control, pressure variation teaches you to create value with a single pencil, and layering lets you develop creativity by building complex color combinations from simple parts. Master these before moving on to blending or advanced shading.
Q2: How can coloring help adults improve creative abilities? A: Coloring is one of the most accessible ways for adults to improve creative abilities because it provides structured creative practice without the intimidation of a blank canvas. Working through decisions about color relationships, light sources, and technique applications trains your eye and your hand simultaneously. Over time, the problem-solving involved in coloring transfers to other creative disciplines and helps you think more visually in everyday life.
Q3: Do I need expensive supplies to start learning coloring techniques?
A: Not at all. You can learn most foundational coloring techniques for beginners with a mid-range set of 24 colored pencils and some smooth cardstock. The most important investment is time and practice, not expensive tools. That said, quality materials do make a difference as you advance — our guide to the Best Coloring Tools for Adults can help you make smart upgrades when you’re ready.
Q4: How long does it take to develop creativity through coloring?
A: Most dedicated beginners notice a meaningful improvement in their ability to develop creativity within 30 days of consistent daily practice — even just 10–15 minutes per day. The key is deliberate practice, meaning you’re actively trying new techniques and reflecting on results rather than simply repeating the same approach. Structured resources, such as interactive coloring tutorials, can significantly accelerate this process.
Q5: Can coloring techniques be taught in a classroom setting?
A: Yes — coloring techniques for beginners translate beautifully into classroom settings at any age level. Teachers can structure lessons around specific techniques, such as layering or color theory, turning coloring into a genuine art curriculum rather than a passive activity. When students understand why they’re choosing colors and how techniques create visual effects, engagement and skill development both increase dramatically.
Q6: What is the difference between blending and layering in coloring?
A: Layering involves building up multiple transparent applications of color, one on top of another, to create depth and richness — you can often still see the individual strokes. Blending, on the other hand, is the process of merging two or more colors so that the transition between them is seamless. Both are essential coloring techniques for beginners to master, and they’re often used together — you layer first, then blend the edges between color zones. Our guide on Mastering Coloring Book Techniques: Blending, Shading & Layering covers both in full detail.
Conclusion: Your Creative Journey Starts With a Single Stroke
Learning coloring techniques for beginners is not about perfection — it’s about progress. Every layer you build, every gradient you attempt, and every color combination you experiment with is actively working to develop creativity in ways that extend far beyond the page in front of you.
Understand why some color combinations feel calm, and others feel chaotic
Think about what you’ve discovered in this guide. You now understand how pressure variation creates depth, how layering builds richness, and how a thoughtful color palette transforms a flat design into something genuinely compelling. These aren’t small things. These are foundational artistic skills that professional illustrators and designers use every single day.
The adults who see the most growth in their coloring practice share one common habit — they show up consistently. Not perfectly. Not with the best supplies or the most time. They simply return to the page, try something new, and allow themselves to be beginners without apology. That willingness to practice without pressure is itself a creative act.
For teachers and small business owners, the ability to improve creative abilities through structured, technique-based coloring practice opens doors that go well beyond personal enjoyment. It becomes a teaching tool, a community-building strategy, and a genuine form of professional development.
The techniques covered here — from basic flat coloring to blending, layering, and mandala-specific strategies — give you a complete roadmap. But a roadmap only works if you start driving.
So pick up your pencils. Choose three colors. Open a design that excites you. And begin.
Choose colors that actually work together before you pick up a pencil
Your creativity isn’t waiting to be discovered somewhere in the future — it’s already there, waiting for you to give it a regular outlet and the right techniques to express itself.
The page is blank. The colors are ready. And now, so are you.
The progression from beginner to advanced techniques is well-structured. I can see my improvement over time.
Finally, a guide that doesn’t talk down to beginners but also offers depth for experienced colorists.
The printability of these files is excellent. No blurry edges or misaligned lines — they come out crisp every time.