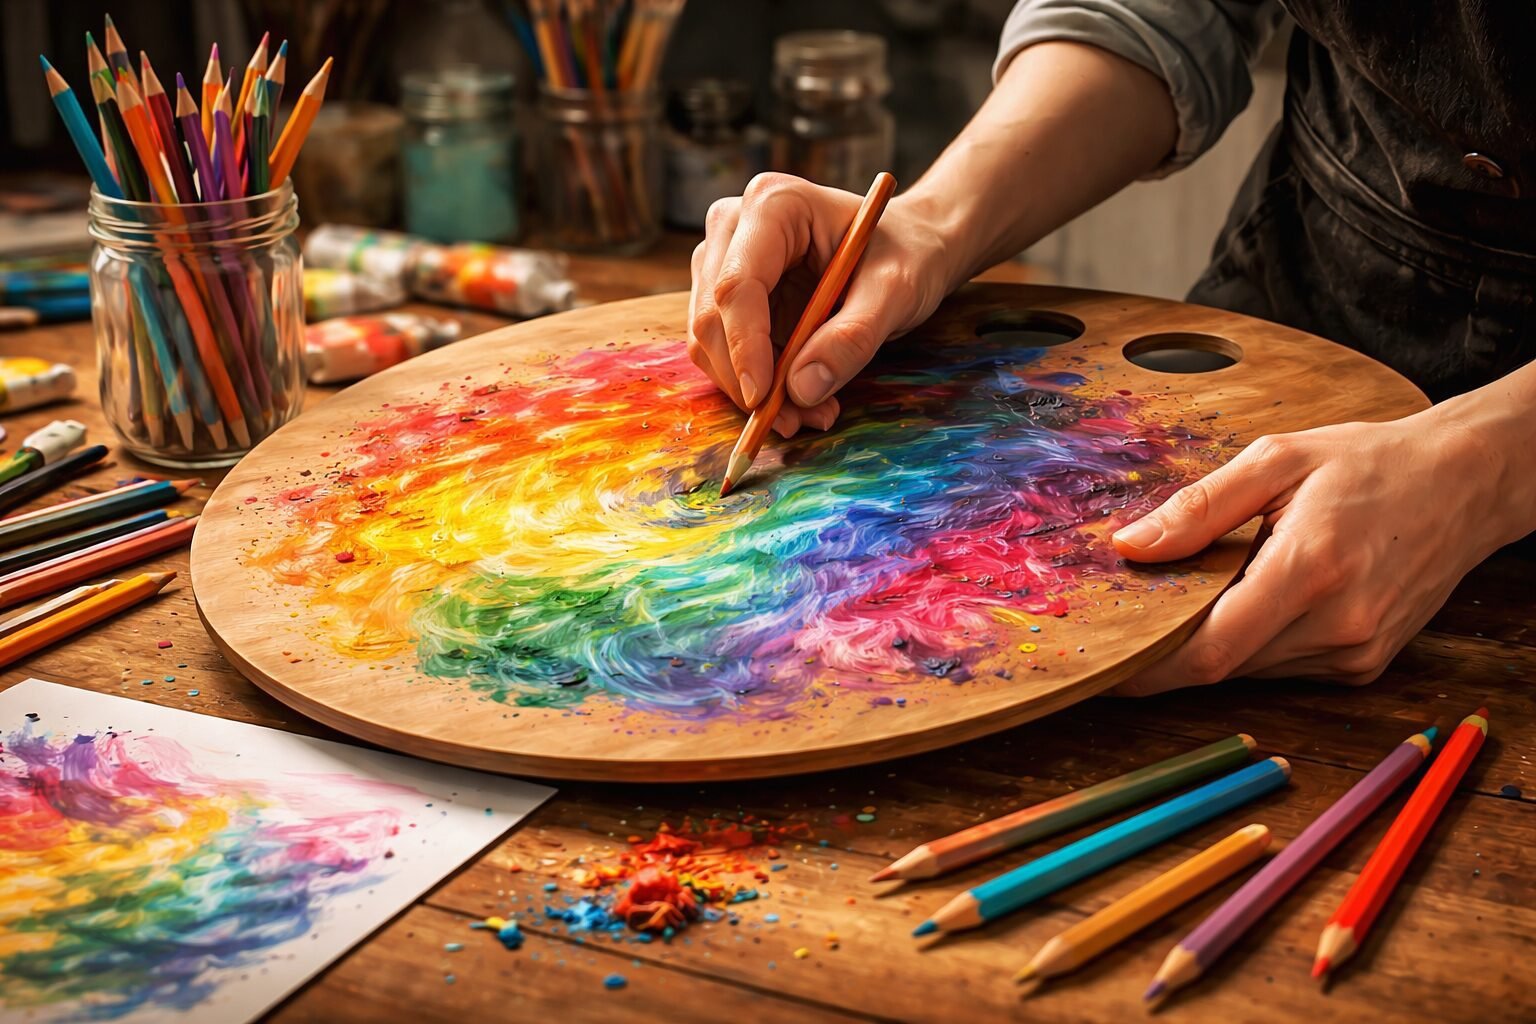
How to Blend Colors Like a Pro
Color blending is one of the most satisfying and transformative skills in art. Whether you’re creating a realistic portrait, a dreamy landscape, or a vibrant mandala, understanding how to blend colors can elevate your artwork from simple to professional. In this guide, we’ll explore color blending techniques, from the basics for beginners to professional strategies for smooth color transitions.
Why Color Blending Matters
Blending colors allows you to create depth, dimension, and harmony in your art. Smooth transitions between hues make your images feel more lifelike, while harsh or unblended colors can make your artwork look flat or disjointed. Whether you’re working with colored pencils, markers, or digital tools, mastering professional color blending opens the door to more advanced artistic techniques.
For beginners, color blending might seem intimidating. But with practice, you can achieve stunning results even with simple tools. Understanding the fundamentals—such as color theory, layering, and pressure control—is essential.
Learn more about the basics in our post on Understanding Color Theory Basics.
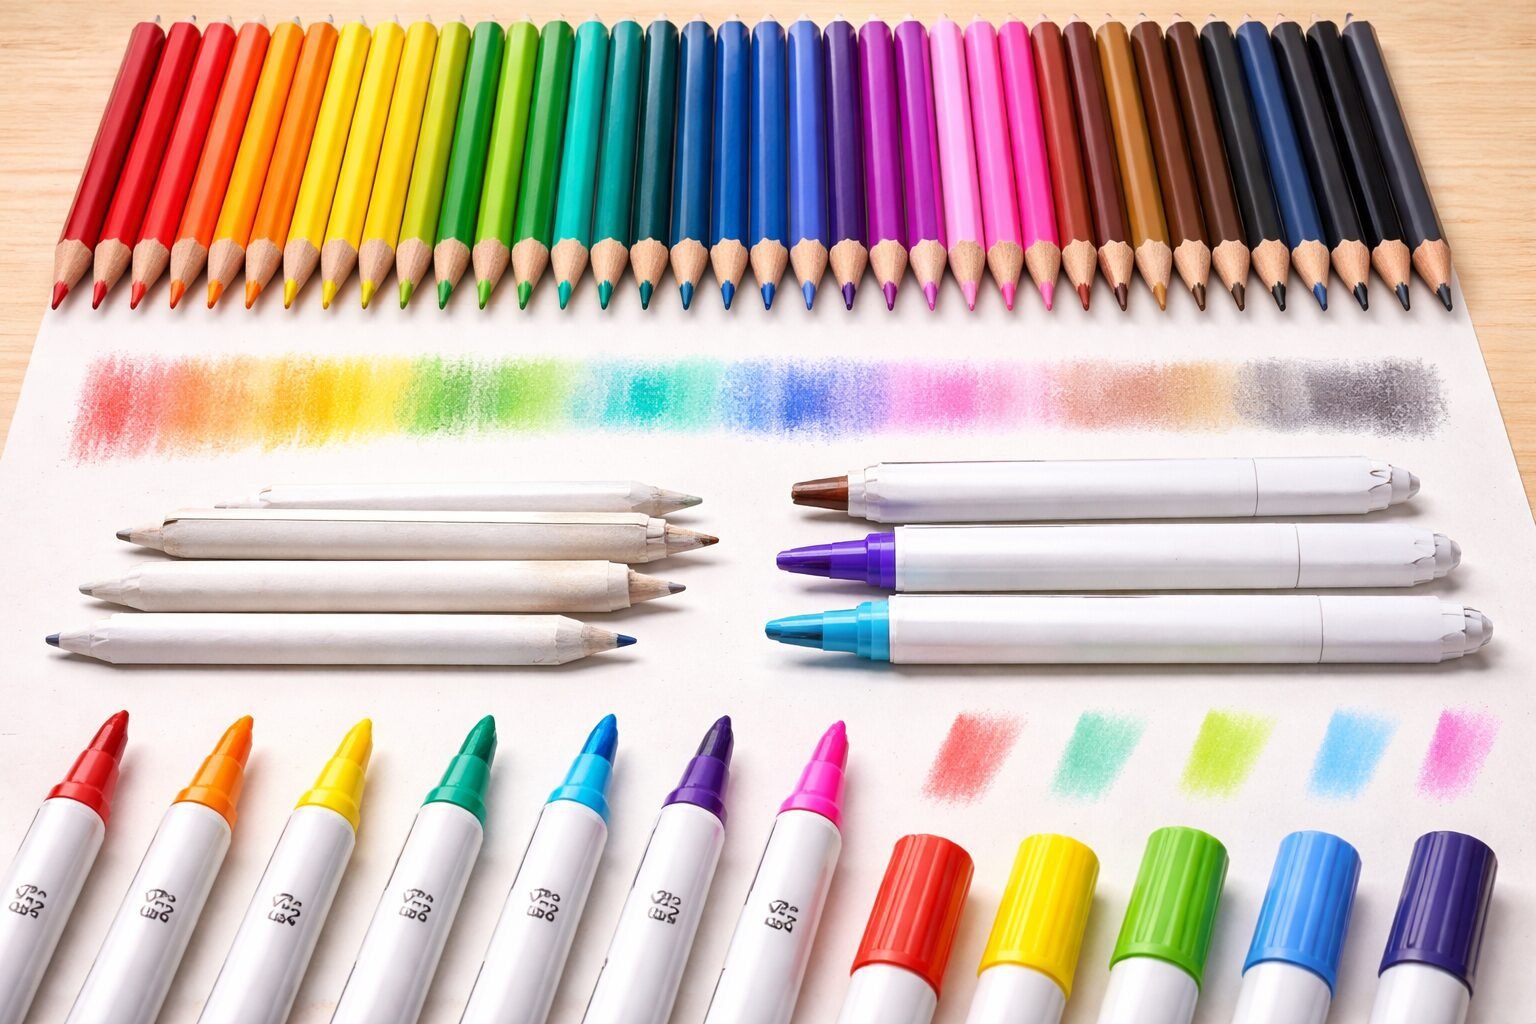
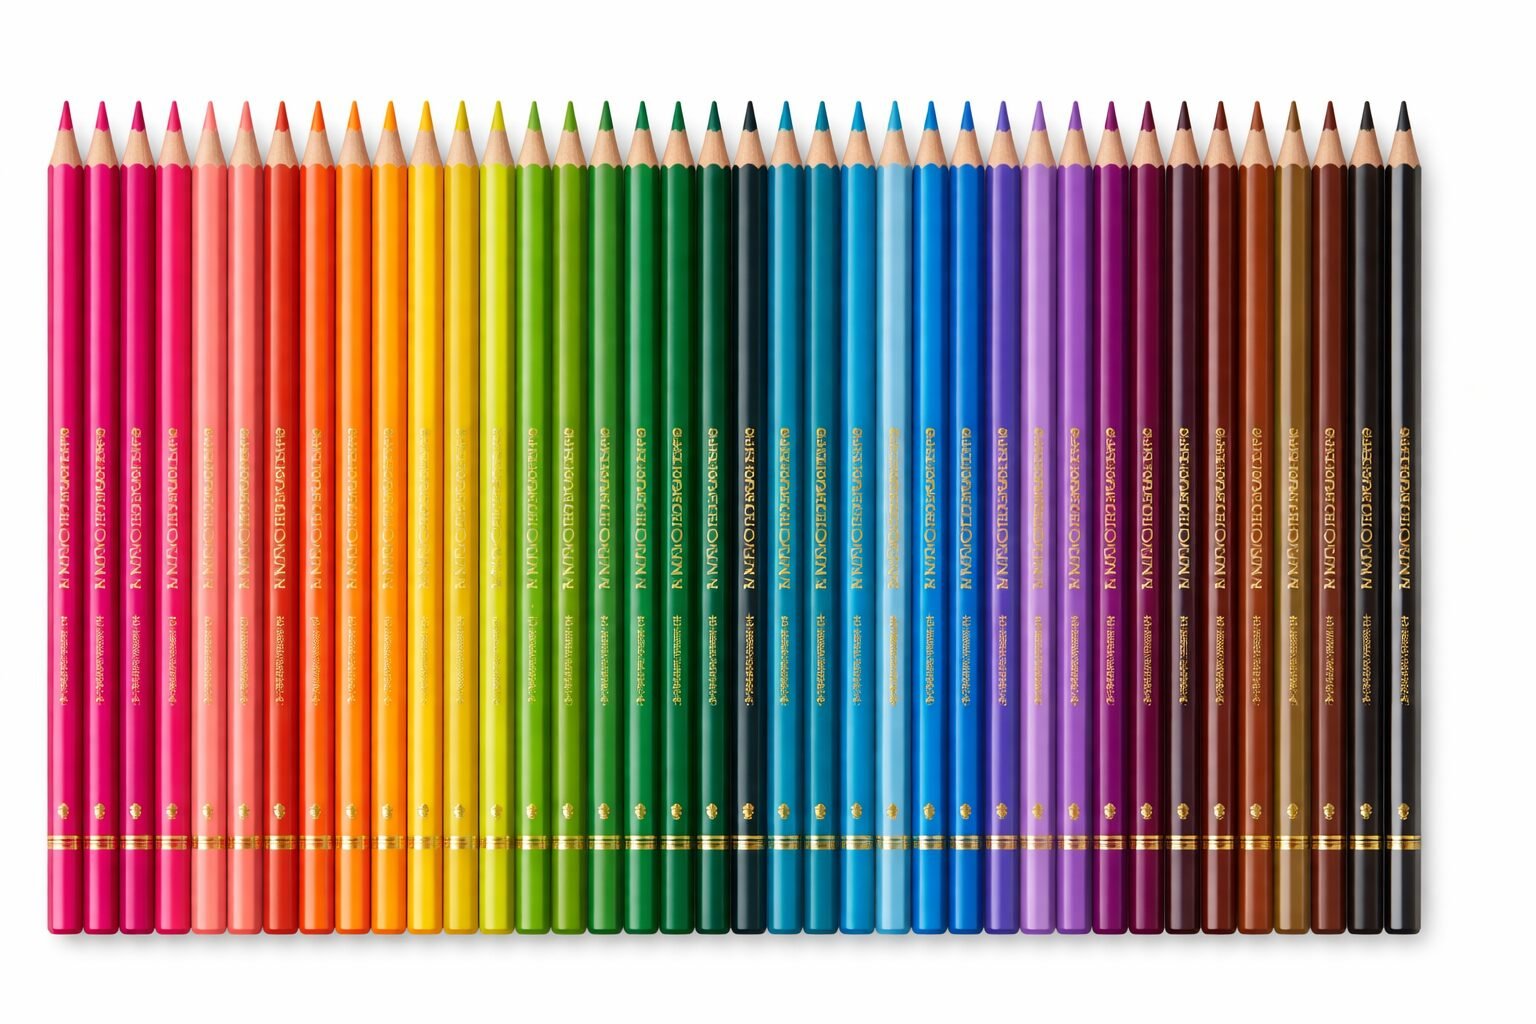
Essential Tools for Color Blending
Before diving into techniques, it’s essential to use the right tools. The choice of materials can drastically affect your ability to create smooth transitions.
Colored Pencils: Ideal for layering and subtle blending. Wax-based pencils create smooth, creamy effects, while oil-based pencils allow for more precise control.
Blending Stumps or Tortillons: Help smooth out pencil strokes and seamlessly merge colors.
Markers: Alcohol-based markers are perfect for vibrant blending. Use a colorless blender to soften edges and transitions.
Watercolors: Blending is achieved by controlling the flow of water and pigment. Wet-on-wet techniques allow colors to merge naturally.
Digital Tools: Software such as Procreate or Photoshop offers blending brushes and opacity controls for seamless digital transitions.
Check out our detailed guide on Best Coloring Tools for Adults to find tools that suit your style.
Color Blending Techniques
1. Layering Colors
One of the simplest ways to blend colors is through layering. Start with a light base color and gradually add layers of darker shades. This builds depth and ensures smooth color transitions.
Apply light pressure with your first layer.
Gradually increase pressure or add darker tones in layers.
Blend the layers using a colorless pencil, blending stump, or gentle cross-hatching.
This technique is effective for beginners and provides a foundation for advanced blending.
2. Feathering
Feathering involves applying short, light strokes to mix colors gradually. This is especially effective for creating gradients and soft transitions.
Hold your pencil at a slight angle.
Apply small, flicking motions in the direction of the transition.
Layer colors lightly, alternating shades to blend.
Feathering is excellent for achieving smooth color transitions in landscapes, skin tones, and skies.
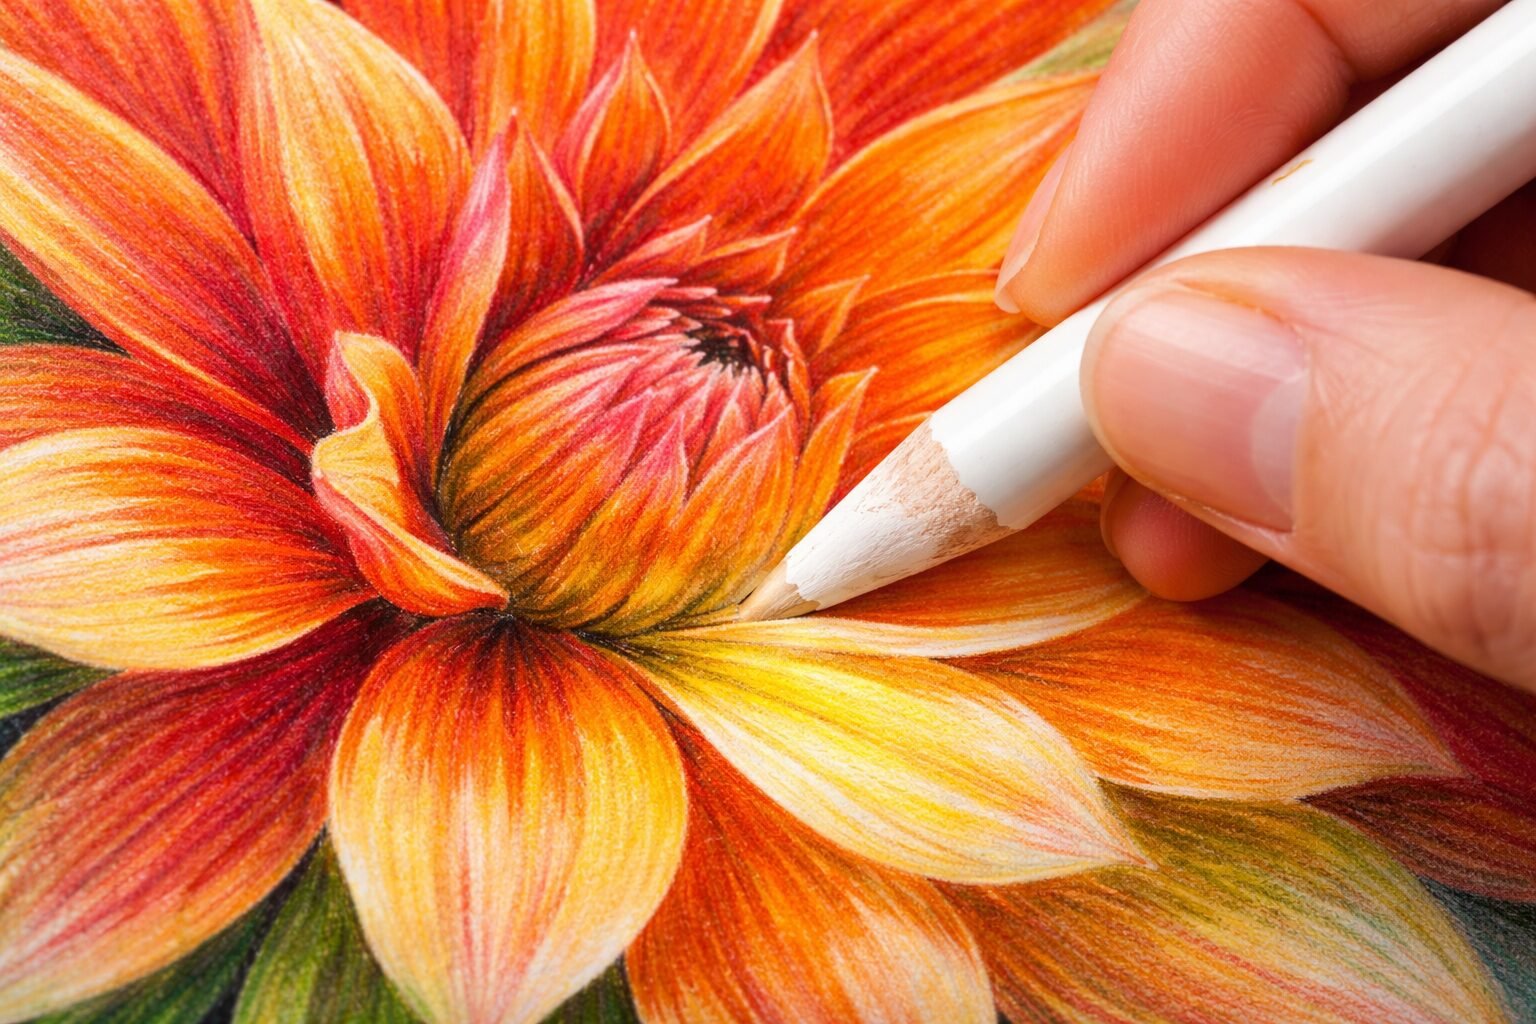
3. Burnishing
Burnishing is a method of pressing colors firmly into the paper to merge layers fully. It eliminates visible strokes and creates a polished finish.
Layer your colors lightly first.
Use a light-colored or colorless pencil to press firmly over the area.
The pigment blends and shines, giving a professional look.
For more techniques like this, see our post on Shading & Texture Techniques for Beautiful Results.
4. Solvent Blending
Solvent blending is another professional technique used with colored pencils.
Use odorless mineral spirits or a blending pen.
Apply lightly to the area you want to blend.
The solvent dissolves the wax, allowing pigments to merge smoothly.
This method produces extremely soft, painterly transitions, ideal for realistic portraits and professional art projects.
5. Wet Techniques
For water-based media like watercolors or water-soluble pencils:
Apply water to one color before adding another adjacent color.
Let the pigments naturally flow and merge.
Control blending by adjusting the water amount and brush strokes.
Wet techniques are ideal for creating soft, dreamy effects and are common in professional color blending.

Tips for Successful Color Blending
Start Light: Always begin with light layers. It’s easier to darken colors than to lighten them.
Use Complementary Colors: Blend colors that are adjacent on the color wheel for harmony.
Be Patient: Smooth blending takes time and multiple layers.
Experiment: Try different tools, pressures, and strokes. Each medium responds differently.
Keep Paper Quality in Mind: Smooth, thick paper is better for blending than rough or thin paper.
For beginners, mastering these tips can make color blending easier and more enjoyable.
Common Mistakes to Avoid
Overblending: Too much pressure or repeated blending can damage paper or muddy colors.
Skipping Base Layers: Always start with a light base to build a gradient.
Ignoring Color Theory: Understanding complementary and analogous colors prevents harsh transitions.
Rushing the Process: Blending requires patience to achieve smooth color transitions.
By avoiding these mistakes, you’ll achieve more consistent and professional results.
Practice Exercises
Here are a few exercises to improve your blending skills:
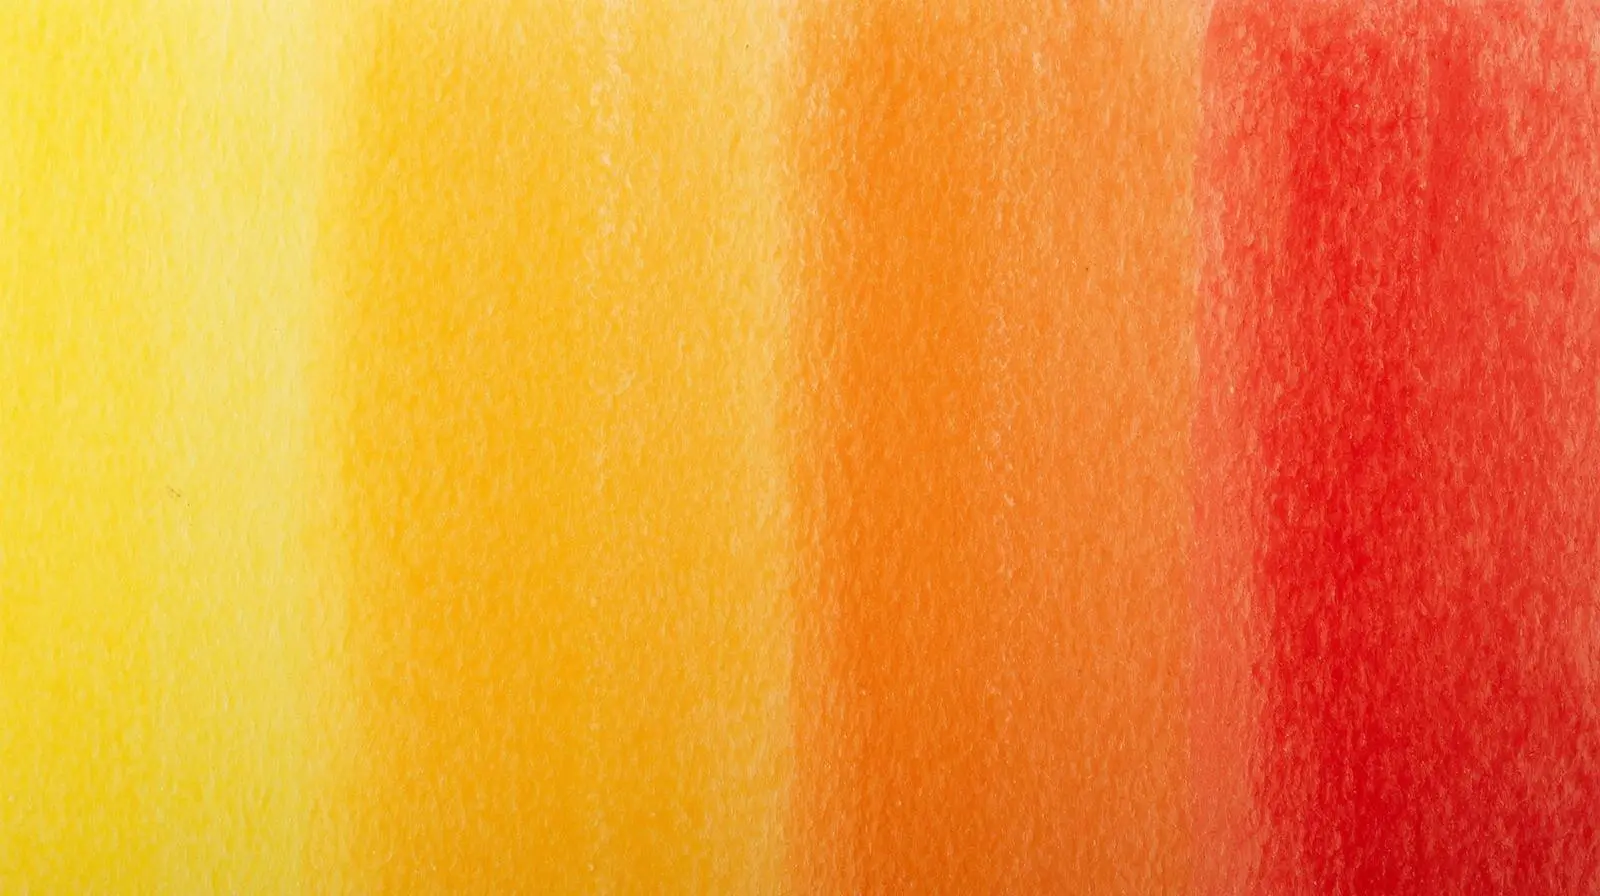
Gradient Scale: Pick two colors and create a gradient from light to dark.
Feathering Practice: Blend three colors into each other using short strokes.
Texture Test: Apply burnishing and solvent blending to see differences in finish.
Mandala Practice: Use Mandala Coloring Techniques to practice blending small, intricate areas.
Applying Blending in Seasonal and Holiday Projects
Blending is especially useful for holiday-themed art. Smooth transitions between backgrounds, ornaments, or festive elements can make your artwork feel more vibrant. For example, gradients in Halloween pumpkins, Christmas lights, or Easter eggs can create depth and realism.
Explore seasonal projects in our pillar post on Seasonal Celebrations & Holiday Coloring Traditions.
Advanced Techniques
Cross-Hatching: Layering perpendicular lines to subtly mix colors.
Color Lifting: Removing pigment with an eraser or damp brush to create highlights.
Glazing: Applying thin, transparent layers over dried colors to adjust tone or hue.
For an in-depth look at professional techniques, check out Color Blending Techniques.
Recommended Products for Blending
From our product range, these tools are perfect for anyone looking to practice how to blend colors like a pro:
Prismacolor Premier Colored Pencils Set (72 Colors) – Smooth, wax-based pencils ideal for layering and burnishing.
Arteza Watercolor Brush Pens – Water-soluble pens perfect for wet blending and gradient effects.
Blending Stumps Pack – Essential for achieving seamless pencil transitions in mandalas and illustrations.
Final Thoughts
Mastering color blending is a journey that transforms your art. From learning color blending techniques to understanding how to blend colors professionally, each step improves your ability to create vibrant, dynamic pieces. Whether you’re a beginner or a seasoned artist, practicing layering, feathering, burnishing, and solvent blending will give you confidence and enhance your artwork.
Remember, blending is not just a technique—it’s a way to express depth, emotion, and creativity in every piece. Start small, experiment, and soon you’ll see your colors flowing together like a pro.
Related Articles:
🎨 Not sure where to start?
Here are our most loved products.
Frequently Asked Questions
🎨 Not sure where to start? Here are our most loved products.
Q1: What are the best color blending techniques for beginners?
A: For beginners, start with basic color blending techniques such as gradual layering, feathering, and wet-on-wet for watercolors. Practicing these helps you achieve smooth color transitions and understand how colors interact. Simple sketches or small swatches are ideal for learning before attempting professional color blending.
Q2: How can I blend colors like a professional artist?
A: Professional color blending combines skill, technique, and the right tools. Use high-quality brushes, pencils, or markers, practice layering, glazing, and gradients, and pay attention to how light affects shades. Smooth color transitions and subtle mixing are the hallmarks of professional color blending.
Q3: What tools are best for blending colors effectively?
A: The tools depend on your medium. For colored pencils, blending stumps, tissues, or solvents work well. Watercolors require soft brushes and controlled water application; acrylics benefit from soft brushes or sponges; and oils allow direct blending on the canvas. Using proper tools makes professional color blending easier.
Q4: How do I achieve smooth color transitions without harsh lines?
A: Gradually layer your colors and blend edges using a soft brush, stump, or sponge. Applying light pressure and gradually building intensity ensures seamless gradients. Practicing on scrap paper can help beginners master smooth color transitions before moving to larger projects.
Q5: Can I practice color blending for beginners at home?
A: Absolutely! Start with swatches, mandalas, or small sketches. Experiment with different mediums, layering techniques, and color combinations. Consistent practice improves control and helps you develop professional color-blending skills.
Q6: What is the difference between color blending and color mixing?
A: Color mixing combines pigments to create a new hue, while color blending focuses on transitioning smoothly between colors without creating a new shade. Color blending techniques are essential for achieving realistic gradients, depth, and soft transitions in artwork.
Q7: How do I blend colors in digital art?
A: In digital art, use brushes with opacity control, smudge tools, or gradient layers. Adjust brush flow and layering to create smooth color transitions. Digital professional color blending mimics traditional techniques, allowing precise control over gradients and shading.
Q8: What are common mistakes when learning how to blend colors?
A: Beginners often press too hard, apply colors too quickly, or skip layering. Avoid harsh lines, rushed strokes, or overmixing colors. Focusing on slow, deliberate blending ensures smooth transitions and more natural-looking results in both traditional and digital media.
Q9: How do different media affect color blending techniques?
A: Each medium has unique blending methods. Colored pencils rely on layering and burnishing; watercolors use wet-on-wet or glazing; acrylics require blending with brushes or sponges; and oils allow direct mixing on the canvas. Understanding your medium is key to mastering professional color blending.
Q10: Can blending colors improve my overall art skills?
A: Yes! Learning how to blend colors enhances your understanding of color theory, shading, and depth. Practicing smooth color transitions develops control, precision, and the ability to create realistic or stylized effects, making your artwork more professional and visually appealing.
Q11: Are there any exercises to improve color blending for beginners?
A: Try gradient exercises, blending complementary colors, or shading simple objects. Coloring mandalas, spheres, or landscapes allows practice with layering, feathering, and smooth color transitions. These exercises build confidence and prepare you for professional color blending techniques.
Q12: How long does it take to master color blending?
A: Mastery varies by practice time, medium, and technique. Beginners can see improvement within weeks by consistently practicing basic blending exercises, while achieving professional color blending skills may take months of dedicated work. Patience and experimentation are key.
Pro-level blending techniques made accessible. My gradients have gone from muddy to smooth and professional-looking.
The blending exercises helped me develop muscle memory for smooth transitions. Practice tips are excellent.
I work with a seniors’ group and these coloring pages have been a wonderful addition to our activity sessions. Very popular.