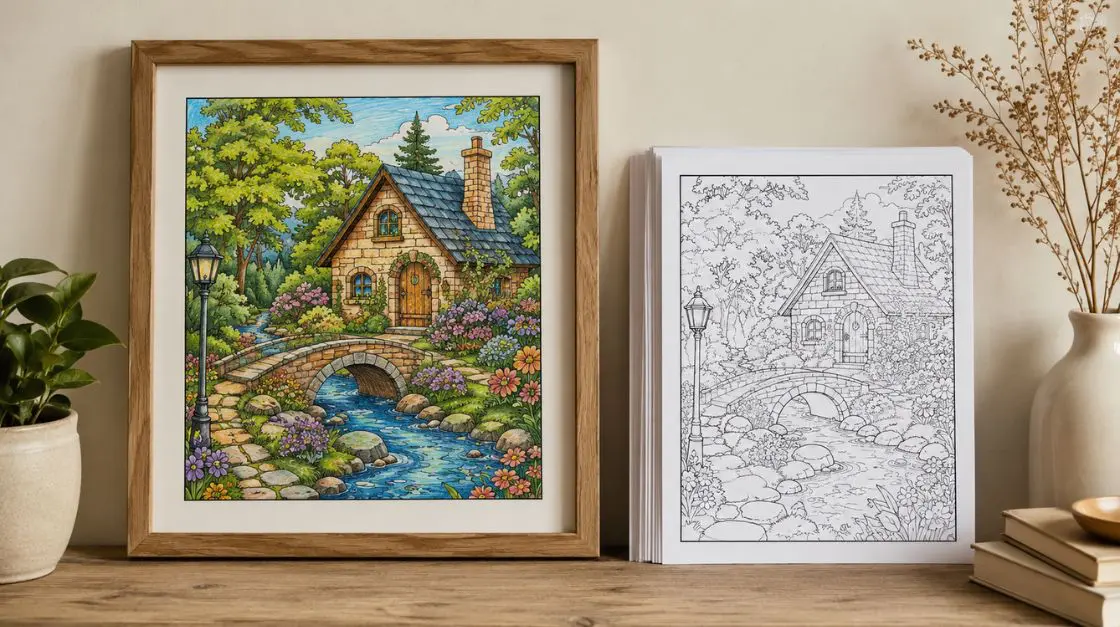
How to Print Coloring Pages Without Smudging or Bleeding
You can print coloring pages without smudging or bleeding by choosing the right paper weight (at least 24 lb / 90 gsm), setting your printer to its highest quality mode, using pigment-based ink instead of dye ink, and letting each page dry for at least two minutes before touching it. If you’ve been dealing with smudges on printer paper, it’s almost always a paper problem or a settings problem — rarely a “bad printer” problem.
That distinction matters more than it sounds like it should. I’ve learned how to print coloring pages the hard way — running the same design on the same $60 inkjet four different ways: once on flimsy copy paper with default settings, once on 32 lb paper in “best” quality mode — and the difference in line crispness was night and day. Nothing about the printer changed. Everything about how I set up the print job did. Once you understand how to print a coloring page correctly the first time, you stop guessing.
Crisp, smudge-free coloring pages matter for reasons that go beyond vanity. A page that’s going in a classroom folder, framed for a gift, or scanned and shared needs lines that hold up to handling, markers, and time. A print that bleeds through onto the table or smears under a kid’s hand undoes the calm, satisfying part of coloring before it even starts. This guide walks through exactly how to print coloring pages that stay crisp — with specific numbers, not vague advice.
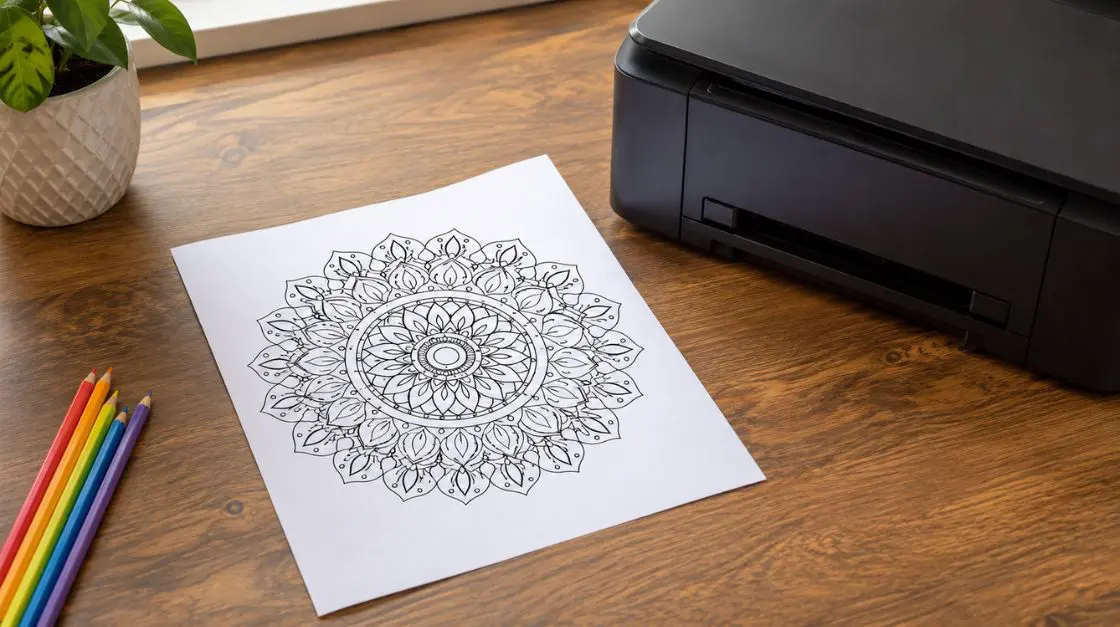
Quick Answer: how to print coloring pages without smudging or bleeding
To print coloring pages without smudging or bleeding: use 24–32 lb (90–120 gsm) matte or cardstock paper, set print quality to “Best” or “Photo” mode, select pigment ink or laser toner over dye-based inkjet ink, and leave pages flat to dry for 2–5 minutes before stacking or coloring on them. Standard 20 lb copy paper is the single most common cause of bleed-through, and it’s the first thing to change if smudges on printer paper keep showing up no matter what settings you try.
Why This Matters
Coloring Pages People Actually Keep
A coloring page that survives markers, gel pens, and repeated handling gets displayed on the fridge, mailed as a gift, or bound into a keepsake book. One that bleeds or smudges gets crumpled and tossed. Learning how to print coloring pages the right way —with the right paper and settings —is the difference between the two outcomes, and it starts with knowing how to print a coloring page correctly the first time, not troubleshooting after the fact.
- Classrooms: teachers often print 20–30 copies of the same design; a bleed-through problem multiplies into a whole tray of unusable worksheets.
- Gifting: a smudged line on a gifted coloring set reads as low-effort, even when the artwork itself is beautiful.
- Framing and display: crisp lines and consistent ink coverage matter far more once a page is behind glass — smudges catch the light.
- Art therapy and mindfulness use: our own animal coloring therapy for adults guide notes that clean, well-defined line art helps the activity feel calming rather than frustrating — muddy or bled lines break the meditative flow.
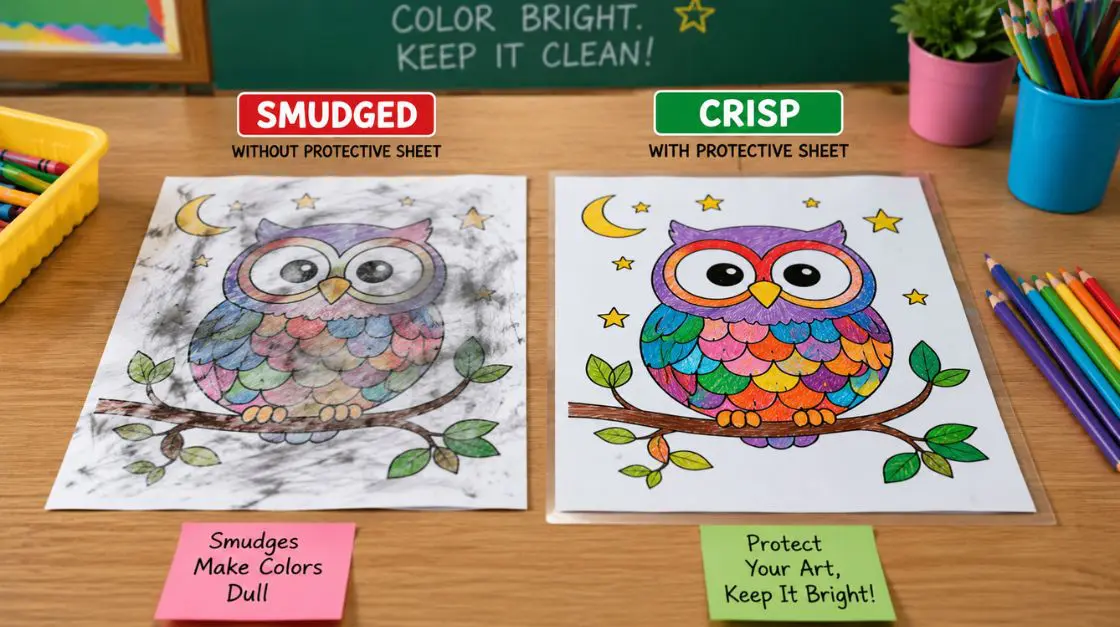
Practical Benefits of Getting Settings Right
- Fewer wasted sheets and less reprinting when you print coloring pages correctly the first time — cardstock and ink aren’t free
- Coloring pages that hold up to markers, gel pens, and watercolor pencils without bleeding through to the table
- A finished product that looks intentional enough to frame or gift, no extra editing needed
- Confidence printing coloring pages in batches for a classroom or family activity without checking every sheet for bleed-through
The Science: Why Coloring Pages Smudge or Bleed
Smudging and bleeding on coloring pages happen for three overlapping reasons: too much ink landing on paper that’s too absorbent, ink that hasn’t had time to dry, or a print quality setting that lays down more ink than the paper can hold. Understanding which one is happening tells you exactly which setting to fix the next time you print coloring pages — and often points straight to the laser vs inkjet question, since the two technologies fail in different ways.
DPI and Line Sharpness
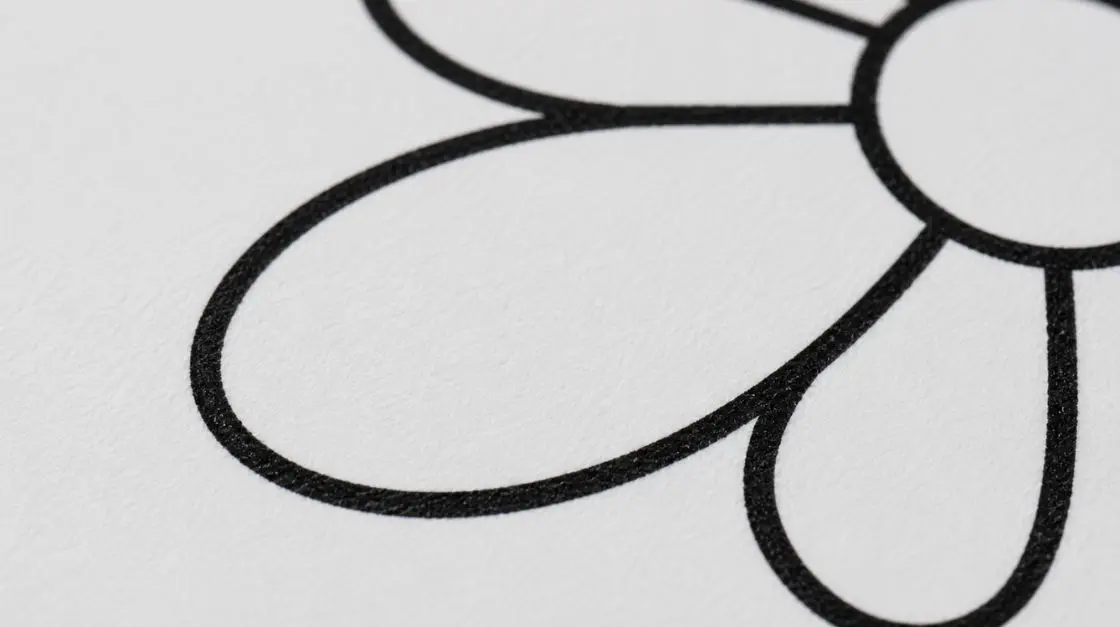
DPI (dots per inch) controls how finely a printer places ink dots to form a line. Standard home inkjets print coloring pages at between 300 and 1200 DPI depending on the quality mode selected; most consumer laser printers cap out around 600–1200 DPI. Coloring page line art — thin, high-contrast black outlines — looks noticeably crisper at 600 DPI and above. Below that, on the “draft” or “normal” setting, lines can look slightly fuzzy or feathered even before any coloring touches the page.
Paper Absorbency and GSM
GSM (grams per square meter) measures paper weight and, indirectly, how much ink it can absorb before it saturates. Standard copy paper sits around 75–90 gsm (20 lb) and is the paper most people default to when they print coloring pages, which is exactly why bleed-through is so common. Once ink volume exceeds what the paper’s surface coating can hold, it wicks sideways through the fibers — that’s bleed-through, visible as a faint mirror image on the back of the page. Cardstock in the 200–250 gsm range resists this almost entirely because it has more fiber depth to absorb ink before it reaches the back.
Pigment Ink vs. Dye Ink vs. Toner
Pigment ink sits on top of the paper fiber and dries largely through evaporation and absorption into the surface layer, which is why it resists smudging faster than dye ink, which sinks deeper into the fibers and stays wet longer. Laser printers use toner — a dry powder fused to the page with heat — which is dry the instant it comes out of the printer and effectively immune to wet-ink smudging, though it can still crack on very flexible or textured cardstock.
How to Stop Ink Smudging on Coloring Pages
If you’re specifically looking for how to stop ink smudging rather than bleed-through, the fix usually isn’t the paper — it’s timing and ink type. Switch to pigment ink or a laser printer, since both dry faster and sit closer to the paper’s surface than dye ink does. Then give every page at least 2–5 minutes flat on a ventilated surface before stacking, coloring, or filing it, since most smudges on printer paper happen from handling a page before the ink has fully set rather than from the print itself. This is also the single fastest way to learn how to stop ink smudging without switching printers or paper at all — it’s purely a timing fix.
Print Quality Modes, Explained
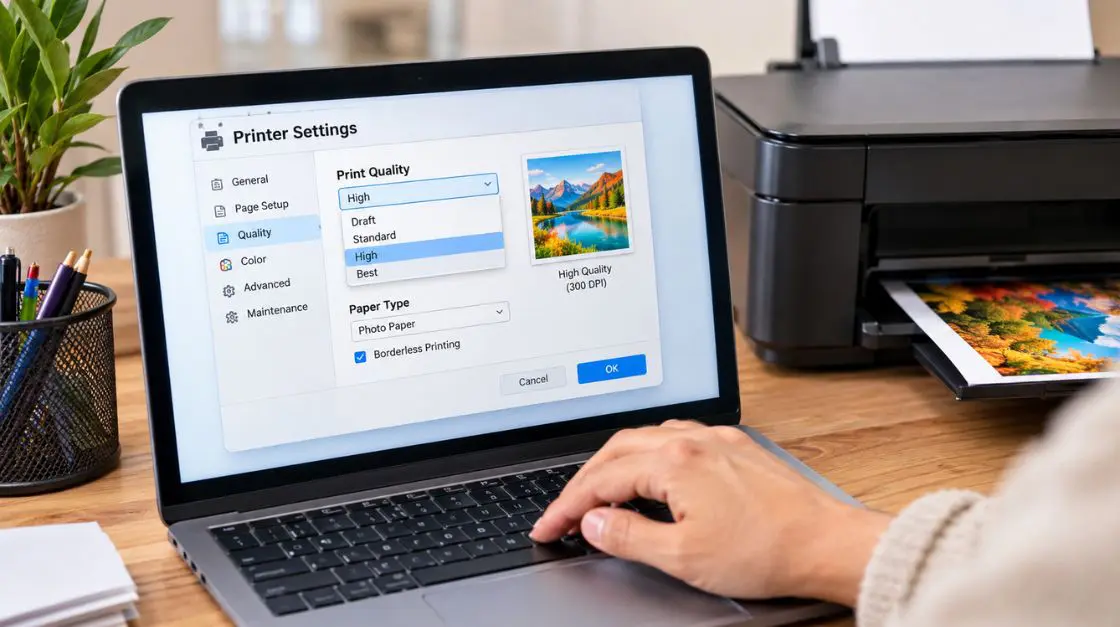
Most printer drivers offer a slider or dropdown between “Draft,” “Normal,” “Best,” and sometimes “Photo” or “Max DPI.” Draft mode uses less ink and prints faster by placing dots farther apart, which is fine for a shopping list but leaves fine coloring-page lines looking thin or broken. “Best” or “Photo” mode increases dot density and ink coverage, producing the solid, continuous outlines that make a page easy to color inside without guessing where a faint line actually goes.
Where to Find These Settings (Windows and Mac)
On Windows, the path to print coloring pages at the right quality is usually File > Print > Printer Properties > Paper/Quality tab, where DPI and paper type live together. On macOS, click Print, then switch from the dropdown that defaults to “Copies & Pages” to your printer’s specific options panel, often labeled “Print Quality” or “Media Type.” These menus vary slightly by printer brand, but the two settings to hunt for are always the same: paper/media type and quality/resolution.
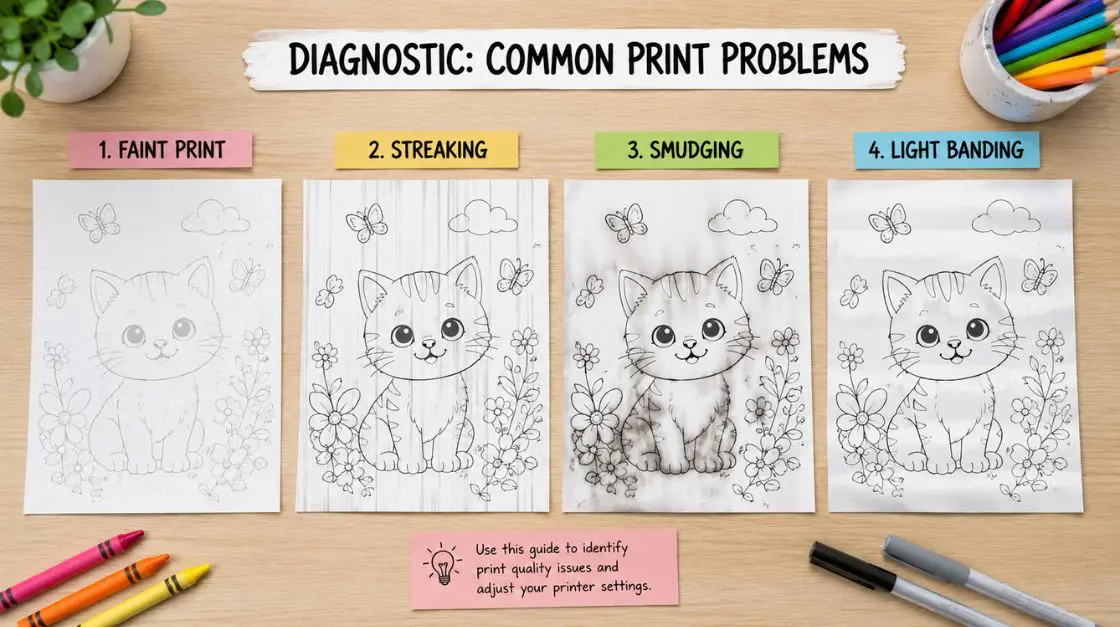
Common Causes of Smudging and Bleeding — Quick Diagnosis
Most problems people run into when they print coloring pages trace back to one of four fixable causes: paper that’s too thin, a quality setting that’s too low, ink that hasn’t dried, or a printer that needs a nozzle clean. Matching the symptom to the cause saves a lot of wasted paper, and it’s the fastest way to stop chasing smudges on printer paper without knowing why they’re happening.
- Faint mirror image on the back of the page → paper is too thin for the ink volume; move up to 24 lb or cardstock.
- Lines look fuzzy or feathered, even on thick paper → quality mode is set too low; switch to “Best” or increase DPI.
- Smudges appear right after printing, then stop → pages were stacked or touched before drying; separate sheets and let them air-dry flat.
- Streaky or uneven lines that weren’t there before → printer nozzles need cleaning, a maintenance step available in most driver utility panels.
- Ink pools or feels wet minutes after printing → the paper type setting doesn’t match what’s loaded; select “Matte” or “Cardstock” instead of “Plain Paper.”
Preventing Ink Bleed and Smudging
Choose the right paper weight. Standard 20lb printer paper is often too thin for markers or wet media, letting ink soak through and bleed onto the next page. Switch to 24lb or 32lb paper, or better yet, dedicated cardstock (65-110lb) if you’re using alcohol-based markers or watercolors.
Match your printer settings to your paper. Set your printer’s media type to “cardstock” or “heavyweight” in the print dialog, not just “plain paper.” This adjusts ink saturation and drying behavior specifically for thicker stock.
Let printed pages fully dry before handling. Fresh prints—especially from inkjet printers—can smudge if touched too soon. Give pages at least 30-60 minutes to air dry before coloring or stacking them.
Place a blank sheet behind the page while coloring. If you’re using markers or gel pens, slide a scrap sheet of paper or cardstock underneath the coloring page to catch any bleed-through and protect your table or the next page in a stack.
Consider your printer type. Laser printers use toner that’s fused to the page and generally resists smudging better than inkjet, which lays down wet ink. If you print coloring pages often, a laser printer can save you a lot of frustration.
Test your media combo first. Before committing to a big batch, print one page and try your intended coloring tool (markers, colored pencils, watercolor) on a small corner. This tells you in seconds whether that paper/printer/tool combo will bleed.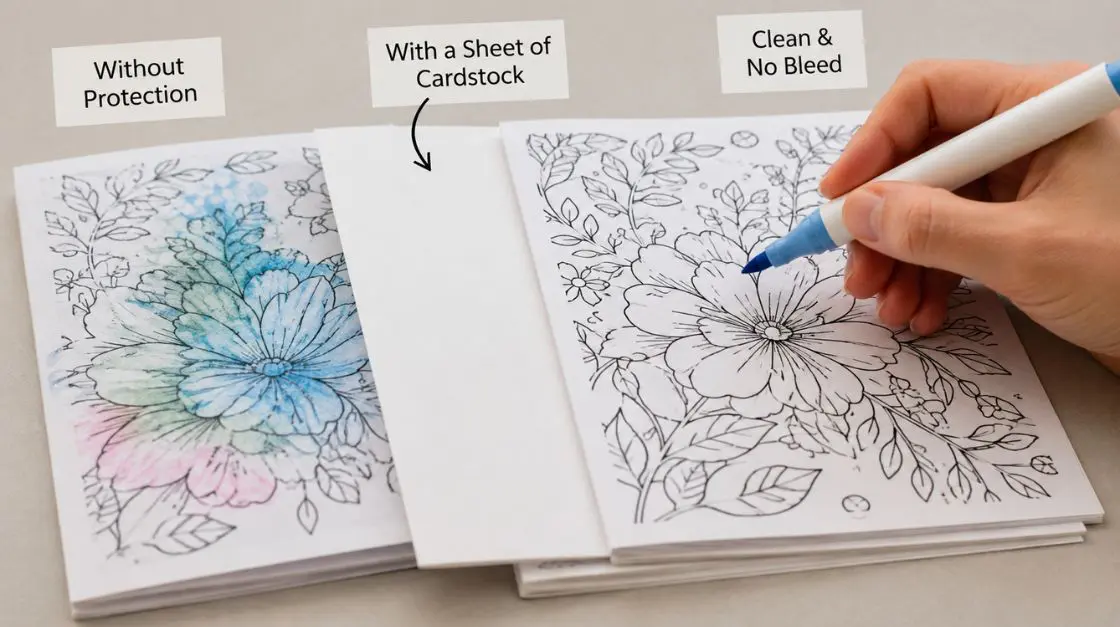
Types of Coloring Pages and How Printer Settings Affect Each
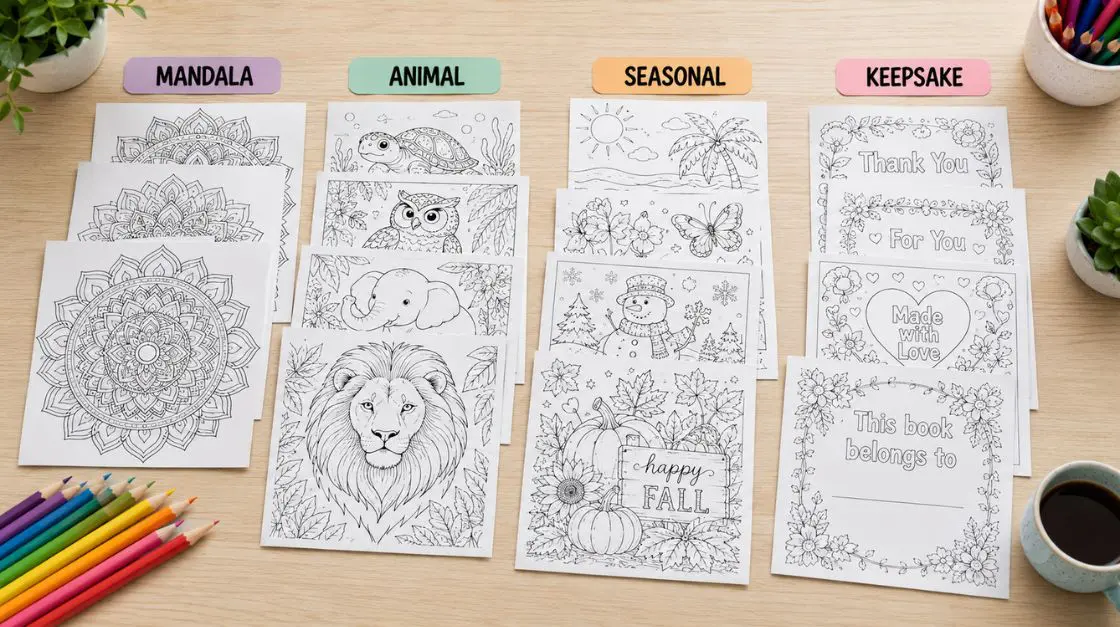
Mandala and Fine-Detail Coloring Pages
Mandalas and other intricate line-art designs have the most to lose from low DPI or cheap paper — thin, closely spaced lines blur together first when ink bleeds. Best audience: adults coloring for relaxation or detail work. If you want to print coloring pages with this much detail well, print at 600 DPI minimum on at least 24 lb paper. Browse our mandala coloring pages printable collection, designed with print-friendly line weights.
Animal and Kids’ Coloring Pages
Bold, thicker outlines used in kids’ animal pages are more forgiving of lower DPI settings but still bleed on thin paper if a child presses hard with markers. Best audience: kids ages 4–10 and classroom settings. Standard “normal” quality mode on 24 lb paper is usually sufficient when you print coloring pages for this age group. See our animal coloring pages bundle for farm, jungle, and ocean sets built for classroom printing.
Seasonal and Holiday Printables
Seasonal designs are often printed in batches for classrooms or gifting, which makes dry time and paper choice matter more — a stack of 20 freshly printed pages needs airflow, not a tight pile. Best audience: teachers, parents planning holiday activities. Browse seasonal coloring pages for designs across the year.
Keepsake and Gift Coloring Pages
Pages meant for framing, binding, or gifting benefit most from the combination of high DPI and heavier cardstock, since these are the two variables most visible up close and under glass. Best audience: anyone printing a finished piece to display rather than a quick activity sheet. Our printable coloring pages for every age and mood hub is a good starting point for browsing designs by theme before choosing a heavier stock for the final print — and for a refresher on how to print coloring pages meant to last, revisit the step-by-step guide below.
Comparison Tables
Table A: Laser vs Inkjet for Coloring Pages
The laser vs inkjet decision is the biggest factor in whether smudging happens at all, since the two technologies dry—or don’t need to dry—in completely different ways.
| Factor | Laser Printer | Inkjet Printer |
|---|---|---|
| Dry time | Instant (toner is fused, not wet) | 2–5 minutes on cardstock, longer on glossy stock |
| Smudge risk | Very low — dry powder, not liquid | Moderate on dye ink, low on pigment ink |
| Cost per page | Lower per page for high-volume, black/white printing | Higher per page, especially color |
| Color vibrancy | Flat, consistent, less saturated | More vibrant, better for detailed shading references |
| Best paper pairing | Standard 20–24 lb copy paper or laser-rated cardstock | 24–32 lb matte paper or inkjet-specific cardstock |
Table B: Paper Weight (GSM) vs. Bleed-Through Risk
| Paper Weight | GSM Equivalent | Bleed-Through Risk | Typical Use |
|---|---|---|---|
| Standard copy paper (20 lb) | ~75–90 gsm | High | Draft prints, quick classroom copies |
| Multipurpose paper (24 lb) | ~90 gsm | Moderate | General home printing of coloring pages |
| Premium matte paper (28–32 lb) | ~104–120 gsm | Low | Gifting, framing, detailed mandala designs |
| Cardstock (65–110 lb) | ~176–300 gsm | Very low | Bundles, keepsakes, cards, heavy marker or paint use |
For a deeper breakdown of weight options across projects, see our best paper weight for coloring books guide — it’s a useful companion once you know how to print coloring pages and just need to fine-tune the paper.
Step-by-Step Guide: How to Print a Coloring Page for Crisp Results
- Open your printer’s settings menu before hitting print. In most print dialogs, this is labeled “Preferences,” “Printer Properties,” or “Options.” Skipping this step and using default settings is the single most common cause of bleeding, since defaults are usually optimized for fast text printing, not detailed line art.
- Select the highest DPI or “Best”/”Photo” quality mode available. Look for a resolution setting and choose 600 DPI or higher if your printer offers a manual DPI selector. This produces sharper, cleaner outlines with less ink feathering at the edges of each line.
- Set the correct paper type in the driver, not just the tray. Choose “Matte Paper,” “Premium Paper,” or “Cardstock” to match what’s physically loaded — this tells the printer to adjust ink volume and drying behavior for that surface, which meaningfully reduces bleed-through.
- Choose pigment ink or a laser/toner printer if smudging has been a recurring issue. If you’re shopping for a new printer specifically to print coloring pages, prioritize models advertising pigment-based black ink or laser toner over standard dye-ink inkjets.
- Let each page dry flat for at least 2–5 minutes before stacking. Lay printed pages on a flat, ventilated surface rather than stacking them straight from the tray — stacking while ink is still wet is the most common cause of smudged, transferred lines between sheets.
- Store finished prints flat, not folded, until fully cured. Ink and toner both continue to set for up to 24 hours; storing pages in a binder sleeve or flat folder during that window prevents pressure smudging.
How to stop ink smudging: Visual Inspiration
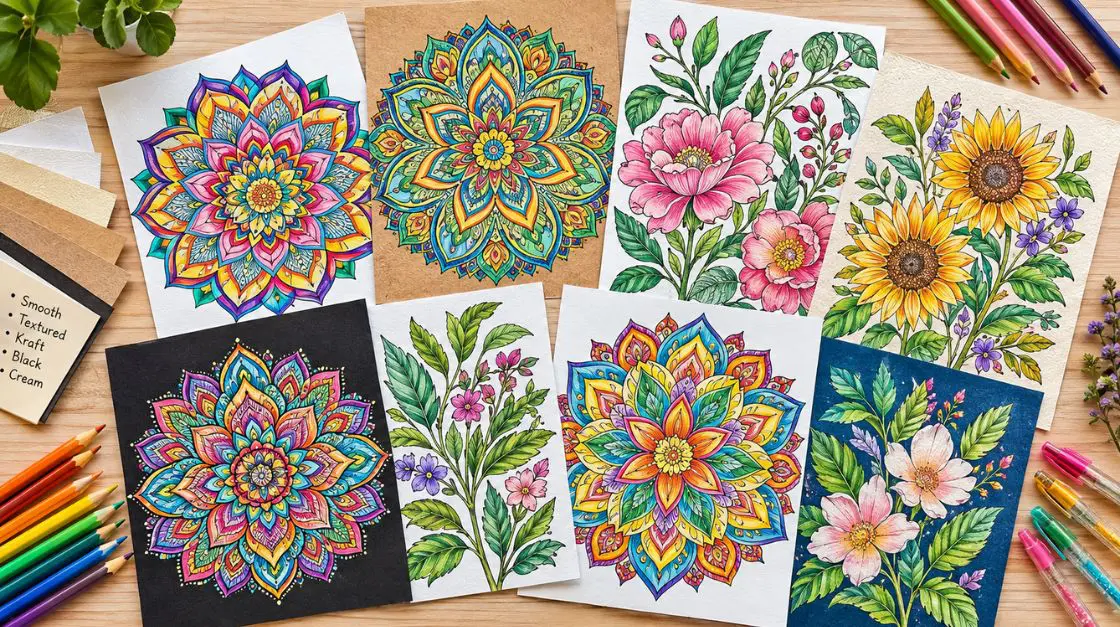
Once you know how to print coloring pages that come out crisp, the paper and finish you choose also shape how the final colored piece looks. Matte cardstock gives colored pencil work a soft, textured finish that suits botanical and nature themes. Smoother premium paper suits gel pens and fine markers for detailed mandala or fashion-style designs, letting color glide without catching on paper texture. For a moodier palette and heavier linework, our dark academia coloring pages pair especially well with cardstock, since dense shading benefits from a sturdier base.
Featured Resources
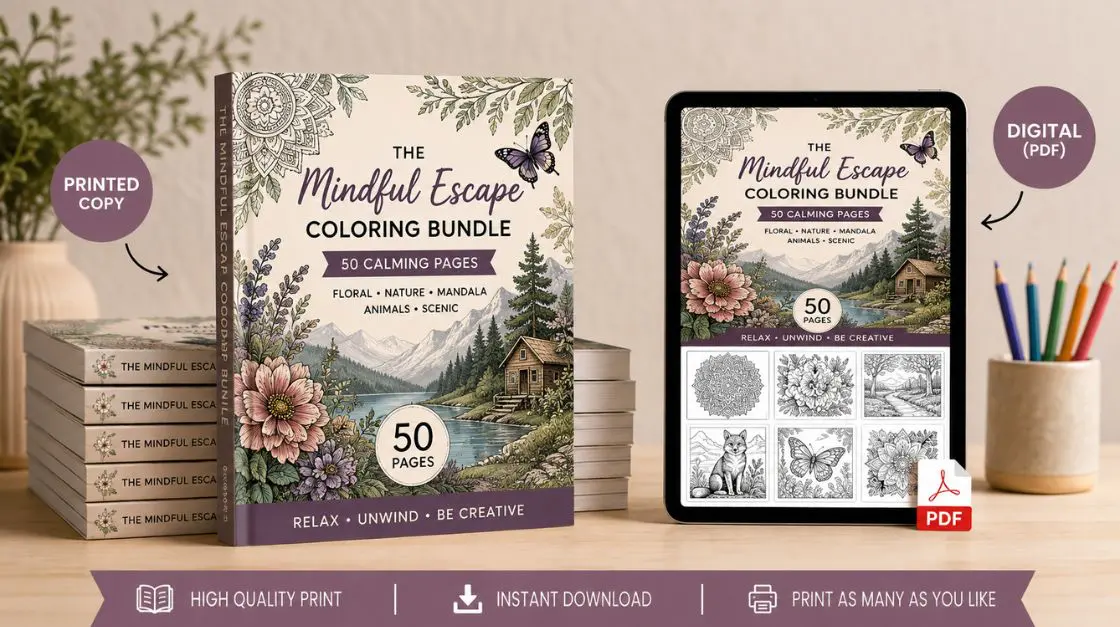
Mandala Coloring Bundle — 150+ Intricate Adult Designs PDF — high-resolution files built for the DPI settings covered above; download and print coloring pages at home today.
Best Selling Coloring Pages — browse the designs customers reprint most, a good starting point if you’re testing new paper or settings before you print coloring pages in bulk.
Printable Coloring Bundles for Families and Classrooms — multi-page sets designed for batch printing, ideal for practicing consistent settings across a full stack when you print coloring pages for a group.
FAQ: How to stop ink smudging
Q1: Is laser vs inkjet better when you print coloring pages without smudging?
A: When comparing laser vs inkjet for coloring pages, laser printers win on smudge prevention. Laser printers melt dry resin toner directly onto paper, creating waterproof lines that dry instantly and won’t react with alcohol markers. Inkjet printers use liquid ink that stays water-soluble longer, requiring extra drying time to avoid smearing when you print coloring pages.
Q2: How to stop ink smudging on a printed coloring page?
A: If you want to know how to stop ink smudging on inkjet prints, give fresh pages 2–5 minutes of flat, uncovered drying time before touching them or coloring. For alcohol markers or watercolors, spray a light coat of workable fixative over the sheet, or choose a laser printer, as understanding laser vs inkjet ink stability is key to smudge-free coloring.
Q3: What’s the best DPI when learning how to print a coloring page?
A: Setting your resolution to 600 DPI is the sweet spot when discovering how to print a coloring page with ultra-clean outlines. It yields razor-sharp results for detailed mandalas and florals without slowing down print speeds. Anything under 300 DPI can leave fine details looking slightly fuzzy.
Q4: Do I need cardstock when I print coloring pages?
A: No, standard 24 lb paper works for basic colored pencils. However, when figuring out how to print coloring pages for alcohol markers, gel pens, or heavy blending, upgrading to 65 lb+ cardstock prevents paper warping, tearing under erasers, and surface ink smears.
Q5: How to print a coloring page test print without wasting ink or paper?
A: To test how to print a coloring page on new paper without wasting resources, select a small, detailed section or corner of your design in your PDF reader and print just that selected area. This uses a fraction of your ink while revealing exactly how your ink and paper combination will react.
Q6: What causes smudges on printer paper versus bleed-through?
A: When learning how to print coloring pages, it helps to know the difference:
Smudging occurs on the surface when wet ink or unfused toner gets dragged across the page by a hand, roller, or stacking.
Bleed-through happens inside the paper fibers when ink soaks straight to the back. Knowing how to stop ink smudging involves proper drying times, while fixing bleed-through requires heavier paper weights.
Q7: How to stop ink smudging on coloring pages you’ve already printed?
A: Once ink has already smeared across a sheet, it cannot be un-smudged. However, you can master how to stop ink smudging on future sheets by letting inkjet prints lay flat and uncovered for 5–10 minutes, avoiding stacking fresh prints straight from the tray, or switching from an inkjet to a laser printer when evaluating laser vs inkjet for coloring pages.
Q8: Why does my printed coloring page bleed through to the back?
A: Bleed-through occurs when paper is too thin (under ~90 gsm) to absorb the ink volume laid down by your printer driver. When adjusting settings on how to print a coloring page, switch to 24 lb+ paper or select a lower ink-saturation setting in your print dialog.
Q9: How long should I let a page dry when learning how to print coloring pages for markers?
A: Inkjet prints on cardstock need 2–5 minutes of flat drying time before you apply alcohol markers or gel pens. If you use a laser printer, the melted toner is cured immediately upon printing, so you can start coloring right away.
Q10: Can I print coloring pages on regular printer paper?
A: Yes, you can print coloring sheets at home on standard 20 lb printer paper for quick pencil coloring. However, if you use wet media or alcohol markers, standard paper carries a much higher risk of ink bleeding, feathering, and surface smudging.
Q11: What paper type setting should I choose in my printer driver?
A: Always match driver settings to your physical paper. When setting up how to print a coloring page, choose “Matte,” “Premium Presentation,” or “Cardstock” rather than leaving it on “Plain Paper.” This controls ink density so the printer doesn’t lay down excess wet ink that causes smears.
Q12: Why does my coloring page look dry after I print it but smudge later?
A: Inkjet inks and laser toners continue curing for up to 24 hours after printing. A page that feels dry to a light touch can still smudge under pressure—such as being clamped inside a tight binder or sketchbook. Store fresh prints flat for the first day to ensure long-term smudge protection.
Q13: Does printer brand matter when learning how to print coloring pages?
A: Printer settings matter far more than brand name. A mid-range printer set to “Best” quality on the correct paper setting will consistently outperform a high-end printer left on default “Draft” or “Plain Paper” modes.
Q14: How many gsm or lb should paper be when considering laser vs inkjet for coloring pages?
A: Aim for 120–160 gsm (80–90 lb) for colored pencils or fine-tip pens, and 160–250 gsm (90–140 lb cardstock) for markers. Knowing how to stop ink smudging and paper bleed-through starts with avoiding thin paper under 100 gsm, which easily tears under erasers and holds wet ink on the surface too long.
Related Guides
- How to Print Coloring Pages at Home — Step-by-Step Complete Guide — a broader walkthrough covering the full printing process end to end
- Best Paper Weight for Coloring Books, Wall Art & Cards — a deeper dive into gsm across different project types
- High Resolution Files: Why They Matter for Printable Art — how file resolution interacts with print DPI
- Printable Coloring Bundle Quality: 6 Things to Check — what to look for before buying a printable set
- Colored Pencils vs Markers: The Ultimate Tool Guide — choosing coloring tools that pair well with your paper choice
Final Thoughts
Now that you know how to print coloring pages that stay crisp, it comes down to three adjustable choices: paper weight, print quality mode, and ink type — not a better printer. Get those three right, and you’ll get pages worth framing, gifting, and coloring in without a second thought about whether the lines will hold. Browse our full library of printable coloring pages built with print-friendly resolution, and download your next set today so you can put this guide to print coloring pages into practice right away.