DIY Winter Greeting Cards: How to Craft Heartfelt Handmade Joy
Introduction
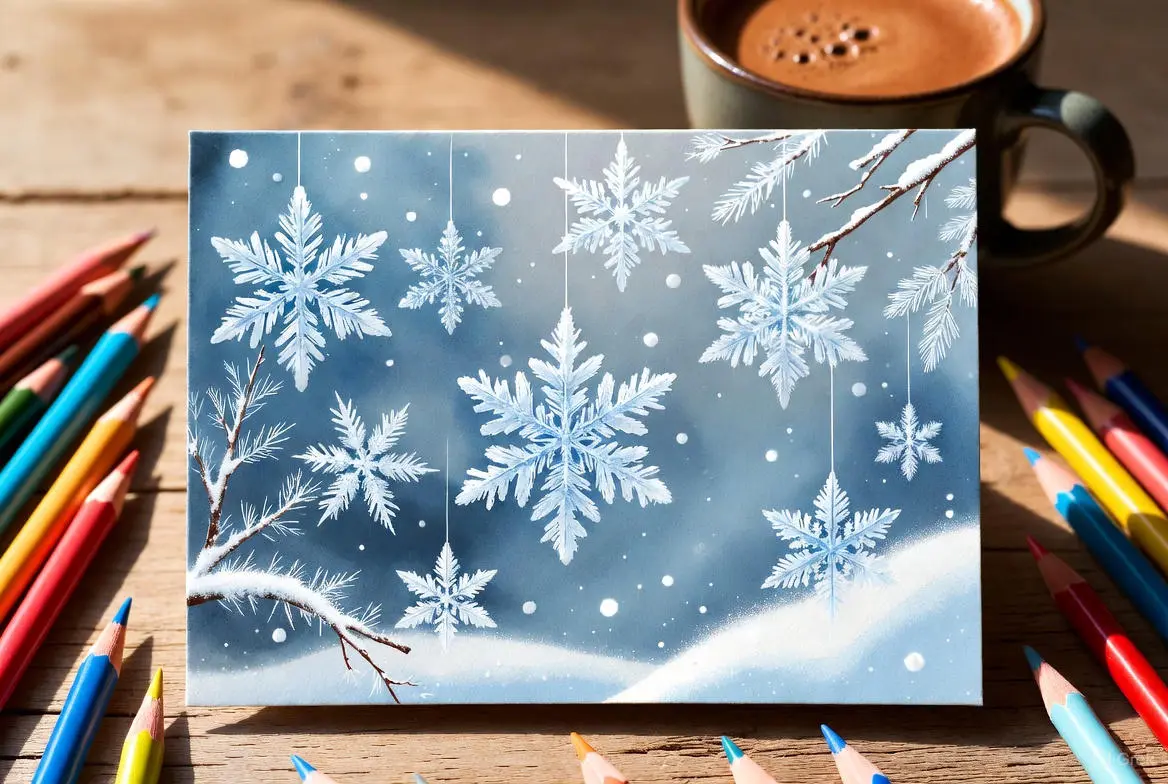
Winter is a magical season filled with holidays, snowflakes, and heartfelt connections. What better way to spread joy than by creating your own DIY winter greeting cards? These handmade treasures add a personal touch that store-bought cards can’t match.
Whether you’re crafting for Christmas, Hanukkah, New Year’s, or to say “thinking of you” during the chilly months, DIY cards let you infuse each one with creativity, warmth, and a bit of your personality.
Making greeting cards at home is not only budget-friendly but also therapeutic. It’s an activity perfect for families, friends, or solo crafters looking to unwind. Imagine sipping hot cocoa by the fire while designing snowmen, evergreen trees, or festive ornaments. The process encourages mindfulness and can even become a cherished tradition. Plus, recipients will appreciate the effort, knowing you poured your heart into something unique.
In this guide, we’ll walk you through everything you need to know to get started — from gathering simple tools to mastering folds and adding vibrant colors. You’ll even find free downloadable templates to kickstart your creativity. No prior experience is required—just enthusiasm and a few basic supplies. Let’s dive in and turn those winter blues into colorful hues!
Tools & Materials for DIY Winter Greeting Card
To create stunning DIY winter greeting cards, you’ll need a selection of basic tools and materials. The beauty of this craft is its accessibility—most items can be found around the house or at a local dollar store.
Start with high-quality cardstock or heavy paper as your base; it provides durability and a premium feel. Opt for whites, blues, and silvers to evoke a wintry atmosphere, or go bold with reds and greens for holiday vibes.
Essential tools include:
Scissors for clean edges and a craft knife for intricate snowflake cutouts.
A ruler for precision lines and a bone folder (or a butter knife) for crisp folds.
Glue sticks or double-sided tape for mess-free adhesion.
Colored pencils, markers, or watercolors for creative coloring.
Add sparkle with glitter pens, metallic paints, or embellishments like stickers, ribbons, and sequins. Pressed flowers and tiny jingle bells add a unique tactile touch.
If you’re printing templates, a home printer and ink are helpful, though hand-drawing designs works beautifully too.
You can set up your workspace with a cutting mat to protect surfaces and small containers to organize supplies. And always supervise children when using sharp tools.
Experiment with textures—embossed paper adds dimension, mimicking snowy landscapes. With these essentials ready, you’re set to craft cards that truly wow.
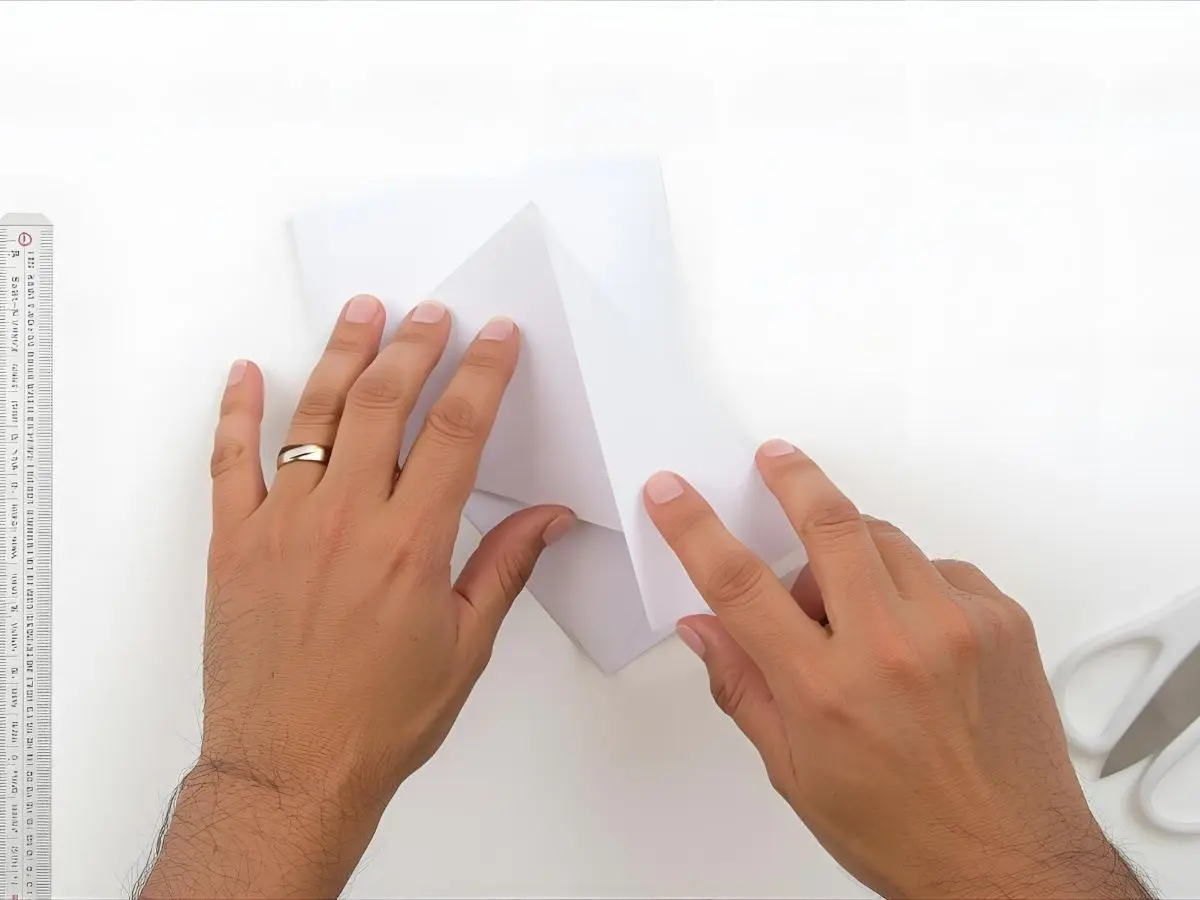
Fold Guide for DIY Winter Greeting Cards
Folding might seem simple, but doing it right ensures your card stands tall and opens smoothly.
For a standard A2 card:
- Start with an 8.5 x 11-inch sheet of cardstock.
- Place it horizontally and mark the midpoint at 5.5 inches.
- Use a ruler and a bone folder (or the back of a knife) to score the line gently.
Fold along the scored line, bringing the short edges together. Press firmly from the center outward to create a sharp, clean crease.
Other fold styles:
- Tri-fold card: Score at 3.67” and 7.33” for an accordion fold.
- Gatefold card: Score 2.75” from each short edge and fold both sides inward.
Erase visible pencil marks afterward and check that your card lies flat.
✅ Pro tip: Practice on scrap paper before using your final cardstock. If you’re adding pop-up elements, cut small slits along the inner fold and push designs like snowflakes or stars through.
With a proper fold, your card becomes a sturdy canvas ready for decoration.
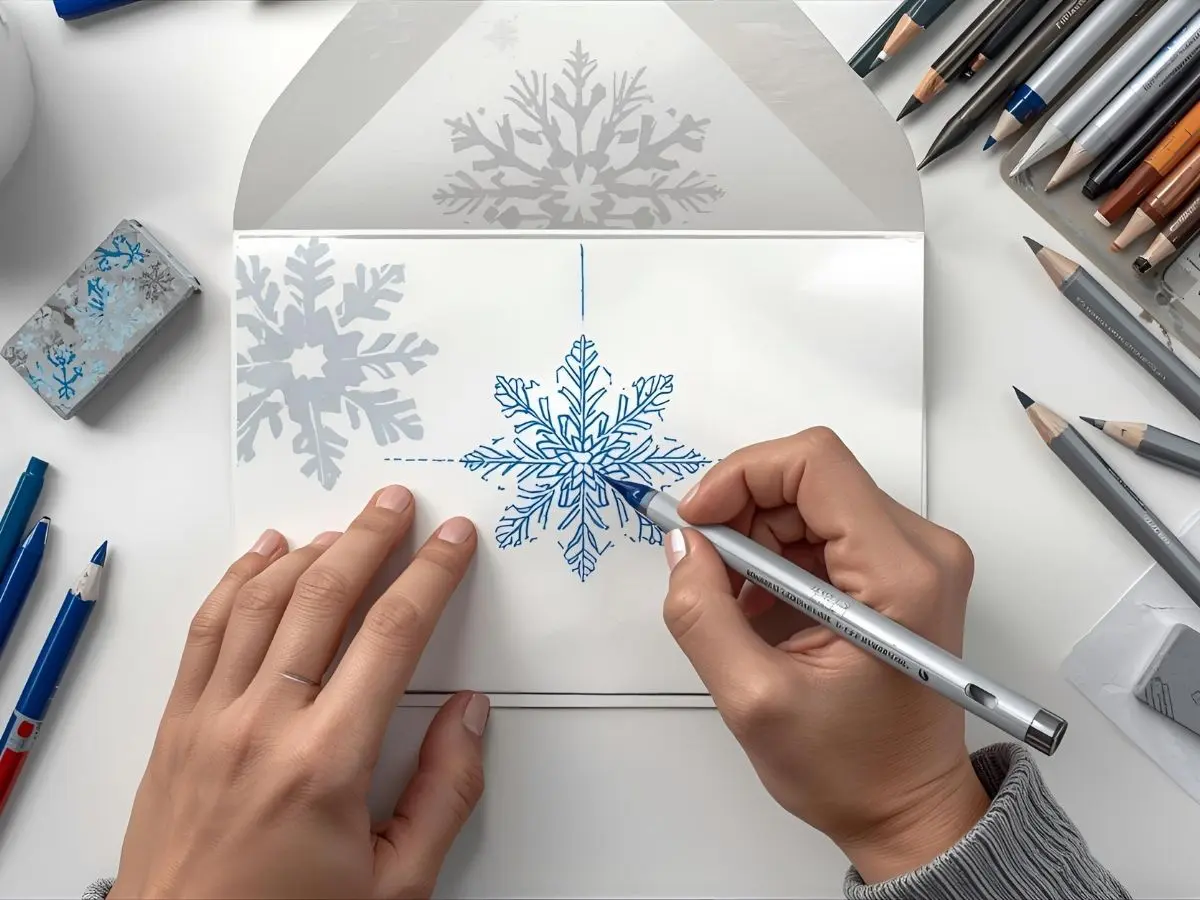
Coloring Tips for DIY Winter Greeting Cards
Coloring transforms a blank card into a winter wonderland.
Start by lightly sketching your design — think reindeer, mittens, icicles, or cozy cabins. Build your colors in layers: pale washes first, then deeper tones.
Use a winter palette:
- Cool blues and purples for skies
- Whites and silvers for snow
- Warm accents like gold or red for holiday warmth
Blending techniques:
- Use a blending stump or cotton swab with pencils for smooth gradients.
- Try stippling (tiny dots) to create fluffy snow textures.
- Cross-hatch with fine lines for shaded evergreens.
- Add highlights with a white gel pen to simulate frost or light reflections.
If using watercolors, tape down your edges to prevent warping and let each layer dry completely.
Avoid over-saturating; subtlety gives elegance. Always test colors on scraps first. For kids, use washable markers for easy cleanup.
Finally, personalize the inside with a handwritten message or a bit of hand lettering. These details transform your card into a keepsake.
Free Download: Winter Card Templates 🎁
Ready to start crafting? Download our free winter greeting card templates today! These printable designs feature ready-to-color motifs like cozy cabins, festive wreaths, and whimsical penguins.
👉 Visit our freebies to grab your free PDF pack.
Print on cardstock, follow this guide, and customize to your heart’s content. Share your creations on social media with #DIYWinterCards for a chance to be featured.
Don’t wait—download now and make this winter unforgettable!
🎨 Not sure where to start? Here are our most loved products.
❄️ FAQ: DIY Winter Greeting Cards
Q1: What basic materials do I need to make homemade Christmas cards DIY style?
A: For your DIY winter greeting cards, you’ll need cardstock or heavy paper as your base, scissors or a craft knife, a ruler and bone folder for clean folds, and glue sticks or double-sided tape. Add coloring tools like markers, watercolors, or colored pencils, along with fun embellishments like glitter, ribbons, or stickers. These supplies are budget-friendly and easy to find at craft stores or online — perfect for getting started with homemade Christmas cards DIY projects.
Q2: How long does it take to create DIY winter greeting cards?
A: A simple DIY winter greeting card can be finished in 15–30 minutes, while more elaborate designs with pop-ups or detailed hand-drawn illustrations may take 45–60 minutes. If you’re making a batch of homemade Christmas cards DIY-style, streamline the process by cutting all your card bases first before decorating. Most importantly, enjoy the creative process — that’s what makes handmade cards so meaningful!
Q3: Can beginners make beautiful DIY winter greeting cards?
A: Absolutely! Anyone new to making homemade Christmas cards DIY can achieve stunning results by starting with a printable winter card template and simple fold techniques. Practice on scrap paper first, focus on clean lines and balanced colors, and remember — the handmade charm is the whole point. Imperfections only add to the warmth and authenticity of your cards.
Q4: Where can I find a free printable winter card template?
A: Free printable winter card templates are widely available on crafting blogs, Pinterest, and through the download link in this article. Look for designs featuring snowflakes, holiday trees, or festive motifs. When using a printable winter card template, make sure to print on suitable paper, scale the design correctly, and feel free to customize colors, lettering, and embellishments to make each card uniquely yours.
Q5: Are DIY winter greeting cards an eco-friendly choice?
A: Yes! Your homemade Christmas cards DIY project can be as green as it is gorgeous. Choose recycled cardstock, non-toxic glues, and biodegradable glitter, and swap plastic decorations for natural touches like dried flowers or twine. Water-based inks and a printable winter card template printed on recycled paper round out an environmentally conscious approach. Handmade cards also naturally reduce packaging waste compared to store-bought alternatives.
Q6: How can I personalize my DIY winter greeting cards?
A: The beauty of DIY winter greeting cards is how deeply personal they can be. Incorporate the recipient’s favorite colors, a meaningful photo, or a handwritten note using your printable winter card template as the base. Add custom stamps, inside jokes, or small surprises tucked inside — like a tea bag, hot cocoa packet, or even a drop of pine or cinnamon essential oil for a festive sensory touch. These thoughtful details transform homemade Christmas cards DIY creations into truly unforgettable keepsakes.
This piece has motivated me to set aside dedicated coloring time weekly.
Coloring provides a creative outlet without the pressure of originality.
I love how this frames coloring as both playful and purposeful.
The meditative repetition in coloring is genuinely transformative.
As a librarian, I’m always looking for quality creative resources to recommend to patrons. These would be at the top of my list.